

Yes, a poorly fitted or low-quality camera lens protector can cause haze, softness, or colour fringing in your photos, but it isn’t always the culprit. Grab a microfibre cloth, wipe the lens, then shoot the same subject with and without the protector on a steady surface. If the blur persists once the protector’s off, look elsewhere.
TL;DR:
- Proper cleaning and controlled testing are essential to determine if a lens protector causes haze, softness, or color fringing, especially under low light.
- Common causes of blurry images include camera shake, focus errors, and software noise, which can be distinguished by specific blur patterns in photos.
- Differences in protector materials, coatings, and fit significantly impact image quality, with low-quality plastic or poorly fitted protectors often introducing distortion.
- Accurate installation, avoiding dust or air gaps, and choosing optical-grade tempered glass protectors reduce the risk of haze and softness caused by protector faults.
- If issues persist after removing or reinstalling the protector, the fault likely resides inside the phone, requiring professional repair or software troubleshooting.
Table of Contents
- Five-minute diagnostic checks to confirm the cause
- Camera shake, focus errors, and software noise: how to tell them apart from protector haze
- How protector materials and coatings change image quality
- Installation and case-fit problems that commonly cause haze or soft edges
- Practical fixes: cleaning, reinstalling, and knowing when to replace
- When the fault is internal hardware or software, not the protector
- SmartProtectors’ evidence: which products actually reduce this risk
- What actually matters when you’re choosing protection over photo quality
- Camera lens protectors that keep photos sharp
- Sources
Five-minute diagnostic checks to confirm the cause
Before you blame the protector, rule out the obvious. A typical troubleshooting sequence starts simple and gets more specific with each step, so work through it in order rather than jumping straight to conclusions; for practical tips on stabilising shots and distinguishing movement blur from optical haze, check our parent’s magic guide.
- Clean first. Wipe each lens with a dry microfibre cloth, then use a rocket blower to shift dust from the crevices around the protector’s edge. Never spray liquid directly onto the phone.
- Shoot a controlled pair. Rest the phone on a table or tripod, frame the same static subject, and take one shot with the protector on and one with it off, using identical settings both times.
- Check every lens. Test the main, ultrawide, and telephoto lenses separately. Blur that shows up on 1x but not 2x or 3x points to a specific protector’s fit rather than a phone-wide fault.
- Vary the light. Repeat the comparison in daylight and again indoors under a lamp. Haze and flare from a protector tend to show up more in low light, because there’s less light to compensate for what’s being scattered.
- Inspect visually. Hold the phone at an angle under a bright light and look for bubbles, lifted edges, or trapped dust beneath the protector itself.
Once you’ve been through these five checks, you’ll usually already know whether the protector is guilty. If the blur vanishes the moment it’s off, that’s your answer.
Pro Tip: Take your comparison shots of something with fine text, like a book spine or a cereal box. Fine detail exposes softness far quicker than a photo of a plain wall or the sky.
Camera shake, focus errors, and software noise: how to tell them apart from protector haze
Not every blurry photo is an optics problem. A huge share of “blurry camera” complaints turn out to be camera shake or a missed focus point, not anything to do with the glass over the lens. Learning to read the pattern of the blur tells you which one you’re dealing with.
Camera shake produces a directional smear across the entire frame. If you nudged the phone as the shutter fired, or shot handheld in dim light where the shutter speed dropped, you’ll see the same streaking direction on every edge and every subject, near and far. It looks like motion, because it is motion.
Missed focus behaves differently. You’ll get one plane of the image tack sharp and another visibly soft, in the same frame, at the same time. Point at a coffee cup with a window behind it, and if the window is sharp but the cup isn’t, your phone focused on the wrong subject rather than any lens fault.
High ISO noise reduction creates a third distinct look: a slightly waxy, over-smoothed texture, most visible on skin, walls, or sky. It isn’t haze so much as the phone’s software scrubbing out grain and taking fine detail with it. This shows up almost exclusively in dim conditions where the sensor has cranked up sensitivity.
Protector-specific blur looks different again. According to Fstoppers’ breakdown of common causes, the reliable diagnostic split is uniform versus localised: shake, diffraction, and noise tend to affect the whole frame evenly, while a dirty or poorly cut protector produces its own signature.
- Colour fringing at high-contrast edges, often purple or green
- A general drop in contrast, as though a light fog sits over the whole shot
- Haloing around bright light sources at night
- Flare or ghosting that wasn’t there before the protector went on
A useful reference point: optical performance is often measured using MTF, or Modulation Transfer Function, which tracks how well a lens preserves contrast at fine detail levels. Adding even a thin extra layer in front of the sensor can nudge that MTF curve down slightly. The resolution number on the spec sheet doesn’t change, but the image looks a touch softer regardless, which is exactly why a £5 film can leave photos looking flat even though nothing is technically “broken.”
How protector materials and coatings change image quality
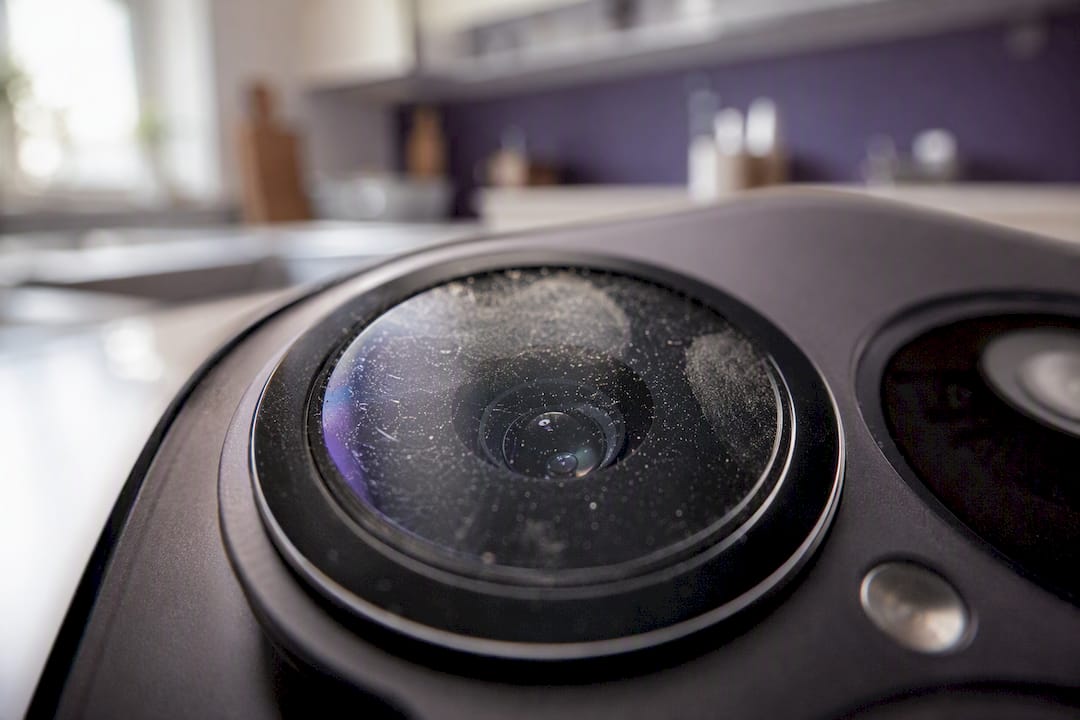
The difference between optical-grade tempered glass and a cheap plastic film isn’t marketing fluff. It comes down to how each material transmits and bends light. Low-quality plastic or poorly cut protectors are a common cause of chromatic aberration and lost fine detail, because the material doesn’t transmit light evenly or sit flush against the lens ring.
A handful of factors decide whether a protector helps or hurts your photos:
- Glass quality. Genuine tempered glass, ground and polished to a consistent thickness, transmits light far more evenly than injection-moulded plastic film.
- Anti-reflective (AR) coating. This cuts down internal reflections that would otherwise bounce around between the protector and the lens element, reducing flare and ghosting in backlit shots.
- Oleophobic finish. A fingerprint-resistant coating keeps smudges from building up, which matters because a smeared fingerprint produces exactly the kind of soft-focus blur people blame on the protector itself.
- Adhesive layer. Cheap protectors sometimes use uneven adhesive that leaves microscopic air gaps, and those gaps act as tiny lenses of their own, bending light unpredictably.
- Refractive index matching. A protector engineered close to the refractive index of glass causes far less distortion than one that isn’t, particularly at the edges of the frame.
Night and HDR scenes expose all of this faster than daylight snapshots. With less ambient light and more contrast between shadows and highlights, any scattering or internal reflection inside the protector becomes obvious, whereas the same protector might look flawless on a bright afternoon shot. If you shoot a lot after dark, an optical-grade tempered glass option built for a specific model is worth the extra few pounds over a generic film.
Installation and case-fit problems that commonly cause haze or soft edges
Even a genuinely good protector can behave like a bad one if it’s fitted wrong. Fit faults tend to produce a very specific type of blur: soft or hazy on one side of the frame while the rest stays sharp, because the protector is sitting at a slight angle rather than perfectly flat against the lens ring.
- Check for a raised case ring pressing unevenly. Some cases have a lens cutout with a slightly tilted or too-tight lip, which pushes down on one edge of the protector and lifts the other. That one-sided pressure shows up as one-sided softness in photos.
- Look for trapped moisture or dust. Anything sealed in during installation, even a speck invisible to the naked eye, acts as a tiny diffuser sitting directly in the light path, scattering light exactly where the sensor needs it sharpest.
- Check the adhesive edges for lifting. A protector that’s peeling slightly at one corner creates an air gap there, and that gap is often where the haze or halo effect concentrates.
- Decide between reinstalling and replacing. If the glass itself is undamaged, a clean reinstall with a dust-removal sticker often solves it. If the glass has adhesive residue baked in or a chip near the camera opening, replace it rather than fight it.
Most of these faults trace back to installation, not the product itself, which is why a proper alignment kit or applicator tray matters as much as the glass quality.
Practical fixes: cleaning, reinstalling, and knowing when to replace
Once you’ve confirmed the protector is the problem, here’s how to actually fix it rather than just diagnosing it forever.
- Deep clean before you touch anything else. Use a microfibre cloth first. If there’s stubborn residue, a cotton bud lightly dampened with isopropyl alcohol works, but keep liquid away from the phone’s actual ports and seams, and never spray directly onto the device.
- Peel and reinstall properly. Lift the protector using a fingernail or a plastic pry tool at one corner. Before placing a new one, use a dust-removal sticker to lift every particle off the lens ring, then align the protector using the phone’s own camera bump as your guide rather than eyeballing it.
- Test your camera settings alongside the physical fix. Turn off HDR temporarily and take a comparison shot. Lock focus and exposure by tapping and holding on your subject. Confirm optical or electronic stabilisation is switched on in the camera app’s settings menu.
- Make the replace-or-remove call. If a reinstalled protector still shows haze, the glass itself is likely low quality or damaged, and it’s time to swap it for an optical-grade tempered glass lens protector built for your exact model. If even a premium protector still causes issues, removing it and relying on a case with a raised lip is a reasonable compromise.
Pro Tip: Photograph a printed test chart or a page of small text before and after reinstalling. It’s a far more reliable comparison than judging sharpness from memory across two separate photo sessions.
When the fault is internal hardware or software, not the protector
If blur persists across every lens, every lighting condition, and every camera app after you’ve removed the protector entirely, the issue sits inside the phone. Reset the default camera app, check for a pending operating system update, and try a third-party camera app to rule out a software glitch specific to one app.
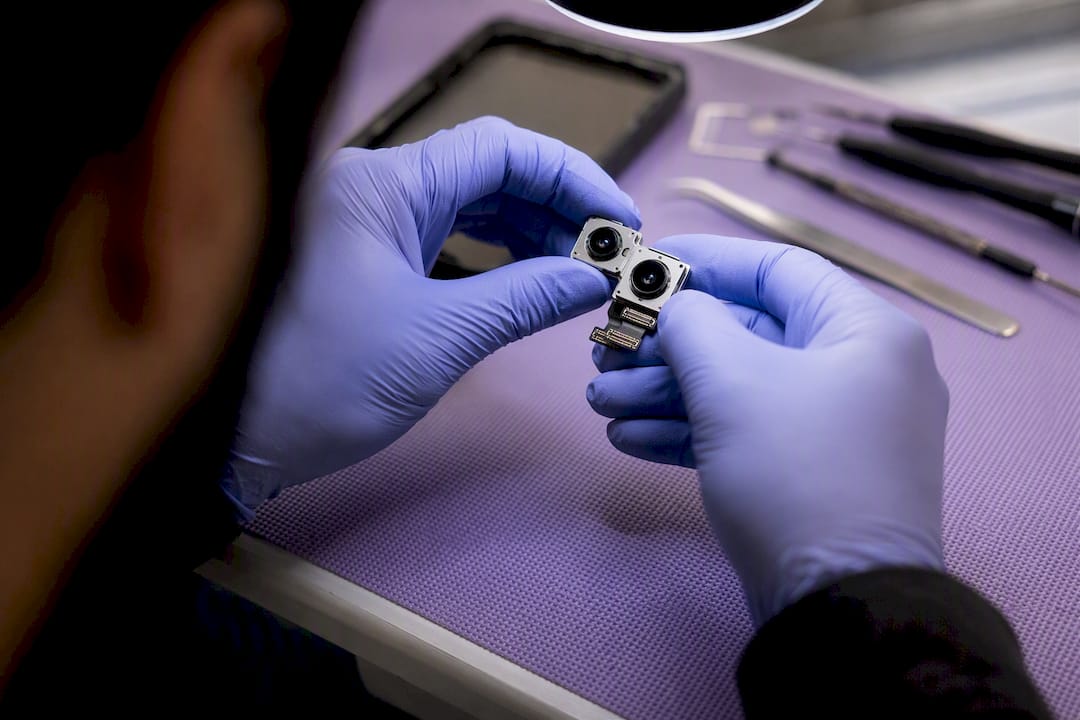
A technician checking a genuine hardware fault will look for misaligned lens elements, condensation trapped inside the housing, or a sensor connector fault. Never try to fix visible condensation with heat from a hairdryer or a heat gun, and don’t pick at internal residue with anything sharp. Both routes risk permanent damage that a proper repair would have avoided entirely.
SmartProtectors’ evidence: which products actually reduce this risk
SmartProtectors stocks IMAK tempered glass camera lens protectors specifically because the optical-grade glass and paired acrylic lens caps avoid the fit issues that cause haze in the first place. Each protector is cut to match the exact camera housing of the model it’s sold for, rather than a generic universal shape stretched to fit.
- Precision-cut tempered glass lens protectors with matching acrylic lens caps for protection during drops and knocks
- Installation kits and alignment tools included to reduce dust and misalignment during fitting
- A product sourcing service for readers whose exact phone model isn’t yet listed in the catalogue
- A catalogue spanning phones, tablets, smartwatches, laptops, and earbuds, not just flagship handsets
If your device isn’t listed, submitting a request means SmartProtectors sources and adds the correct product rather than leaving you to fit a generic film that was never shaped for your camera housing. That precision fit is exactly what prevents the tilted, gap-prone installations that cause one-sided softness in the first place.
What actually matters when you’re choosing protection over photo quality
Cheap plastic films are the false economy of phone accessories. They cost less upfront but degrade faster, yellow with age, and are far more likely to introduce exactly the haze this article has walked through. My honest recommendation: spend the extra few pounds on optical-grade tempered glass, or fit a case with a raised camera lip instead, particularly on a flagship phone with a camera system that cost real money to build. If your model isn’t in a catalogue anywhere, use a request-based sourcing service rather than settling for an ill-fitting universal option, and if you spot a recurring issue with a specific model, say so. Catalogues improve when people report what’s actually going wrong.
— Dian
Camera lens protectors that keep photos sharp
There’s a real cost to guessing with camera protection. Fit the wrong film and you’re stuck choosing between a scratched lens or blurry photos; fit the right protector and that trade-off disappears entirely. SmartProtectors solves this with device-specific IMAK tempered glass lens protectors, precision-cut with matching acrylic lens caps, so the fit issues covered above simply don’t arise.
The IMAK Ultra Clear Anti-scratch Camera Lens Protector for Samsung Galaxy S23 Ultra and the equivalent S23 / S23+ version both pair optical-grade glass with an acrylic cap that absorbs impact without adding the air gaps that cause haze. If you’d rather protect the whole screen at the same time, the Spigen GLAS.tR EZ Fit protector for iPhone 17 uses an alignment tray that prevents exactly the crooked fitting that causes one-sided softness. Not every device needs the thickest protection going, either. A lighter option like the anti-glare PET film for iPhone 15 suits anyone who wants scratch protection with minimal thickness added over the camera glass.
If your exact model isn’t listed, submit a request through SmartProtectors and the team will source and add it to the catalogue, so you’re never stuck fitting a generic protector shaped for a different camera housing.
Sources
- Cheap camera lens protectors can lower image quality — Android Authority
- Why are my images blurry and how do I fix them? — DPReview
- Why your photos are blurry and how to fix them — Fstoppers