

Lift one edge with a strip of low-tack tape or a clean fingernail, then peel slowly at a shallow angle rather than straight up. If it won’t budge, a hairdryer on its lowest heat for a few seconds can loosen the adhesive. Never use metal tools. Once it’s off, check the section below that matches your protector type for the exact technique.
TL;DR:
- Removing adhesive film protectors is safest with patience, low heat, and soft tools like tape or plastic picks; forcing can cause lens damage.
- Tempered glass protectors and cracked shields require careful edge lifting and, in the case of cracks, taping to contain shards before removal.
- Use isopropyl alcohol and microfibre cloth to clean residual glue post-removal, then perform a focus check with a test photo to ensure clarity.
- For stubborn or stuck protectors, gentle retries with heat and alternate edges are recommended; avoid metal tools and forceful twisting.
- Proper fitting replacements and additional protective accessories are available for common Samsung models to ensure longevity and image quality.
Table of Contents
- What type of camera lens protector are you dealing with?
- Getting your tools and workspace ready
- Removing an adhesive film lens protector step by step
- Removing tempered glass, cracked protectors and screw-on caps
- Clearing adhesive residue and checking the lens afterwards
- What to do when a protector won’t come off cleanly
- Why This method is backed by various observations from the protective accessories industry
- When it’s worth keeping a lens protector at all
- Get the right replacement lens protector fitted fast
- Sources
- FAQ
What type of camera lens protector are you dealing with?
Not every protector comes off the same way, and guessing wrong is how people end up with a scratched lens or a handful of glass shards. Before you touch anything, work out which of the three main types is fitted to your phone.
- Adhesive film: a thin, flexible layer, usually with a slightly raised or curled edge you can feel with a fingernail. It relies entirely on a sticky backing, so it lifts and peels rather than snapping.
- Tempered glass insert: rigid, thicker, and often set inside a metal or plastic ring. It sits on adhesive too, but because it’s stiff, it can crack under pressure instead of bending.
- Screw-on or snap-on cap: found more on camera-style modules and some ruggedised cases, this has a visible thread or a mounting lip rather than any glue. You’ll usually spot small alignment marks moulded into the plastic.
Edge lift, visible bubbling, or a slightly proud corner points to adhesive film. A network of fine cracks or a stress fracture spreading from one corner is a strong sign you’re working with tempered glass that’s already compromised. If you can see a mounting ring or thread pattern, you’re dealing with a screw-on or snap-on cap, not adhesive at all.
Most film and intact glass protectors are safe for a careful DIY removal. If the glass is shattered close to the camera housing, or the protector is glued flush against a sealed gasket with no visible edge, it’s worth considering professional help rather than risking damage to the lens or the phone’s water seal.
Getting your tools and workspace ready
Rushing this step is where most damage happens. Grit trapped under a protector, a metal blade slipping, or too much heat applied too long. A few minutes of preparation avoids all three.
- Power off the phone and remove any case, so you have full access to the lens module.
- Work on a clean, well-lit surface, ideally somewhere free of dust or fabric fibres (a kitchen table beats a sofa cushion).
- Gather your kit: a microfibre cloth, a roll of low-tack tape (painter’s tape works well), a plastic pick or old gift card edge, cotton swabs, isopropyl alcohol, and a hairdryer set to its lowest heat.
- If the protector already shows cracks, have a pair of thin gloves and a small tray or dish ready to catch any fragments.
Keep isopropyl alcohol well away from the phone’s charging port and speaker grilles while you work, and never use a razor blade, key, or screwdriver anywhere near the lens. Plastic and soft materials only.
Pro Tip: Fold a short strip of tape into a small loop, sticky side out, and press it lightly onto the protector’s edge before pulling. It grips far better than a bare fingernail and won’t slip the way a fingertip does on smooth glass.
Removing an adhesive film lens protector step by step
Film protectors are the easiest type to remove and the one most smartphone owners will encounter, since they’re the standard fit on most modern handsets.
- Clear loose dust first. Use a soft brush or a few puffs of air to blow away grit sitting on or around the edges. Skipping this step is how fine particles end up scratching the lens during peeling.
- Find or create a lifting point. Run a fingernail gently around the perimeter to feel for a slightly raised edge. If there isn’t one, press a small folded tape tab onto one corner and lift. Never dig a pick under the centre of the film, where the camera glass sits directly beneath it.
- Apply heat only if it resists. A safe removal method for many adhesive film protectors involves warming the adhesive with a hairdryer on its lowest setting, held roughly 15 to 20 centimetres away, in bursts of no more than 5 to 10 seconds at a time. Check the film’s temperature with your fingers between bursts rather than holding the heat continuously.
- Peel slowly at a low angle, almost parallel to the phone’s surface, while your other hand steadies the module. Pulling straight up puts more strain on the adhesive bond and increases the chance of snapping a brittle edge.
- Clean the residue and test. Wipe any leftover glue with isopropyl alcohol on a cotton swab, then finish with a dry microfibre cloth. Take a test photo afterwards to check for smudges or haze.
Folded tape as a lifting tab is recommended repeatedly across independent troubleshooting guides precisely because it reduces the risk of a pick slipping under the film and gouging the coating beneath. Patience matters more than force here: nearly every account of a scratched lens involves someone rushing the peel rather than working through it slowly.
Removing tempered glass, cracked protectors and screw-on caps
Rigid protectors and cracked ones each need a different touch, and threaded caps are a different job entirely since there’s no adhesive involved at all.
- Intact tempered glass: slide a plastic pick or the folded-tape method under one edge, never the centre, and lift gradually along that same edge rather than trying to prise the whole panel up at once. Because the glass doesn’t flex like film, forcing the middle is what causes it to snap.
- Cracked protector: press a strip of clear packing tape firmly over the entire damaged surface before you touch it. This is the same shard-control approach used when handling any cracked tempered-glass protector, and it stops fragments scattering as you work. Once the tape is on, lift from an edge as normal, and drop any loose shards straight into a small tray as they come free.
- Screw-on or snap-on caps and filters: line up the small alignment marks moulded into the ring, then rotate gently rather than pulling. Threaded protectors should turn counterclockwise using a rubber grip or a proper lens wrench if it’s stuck, never pliers or a metal tool, which can strip the thread or scar the barrel. Wipe any grit or sand off the thread first, since debris caught in the mechanism is the usual reason these seize up.
Pro Tip: If a screw-on cap won’t turn by hand and you don’t have a lens wrench, a wide rubber band wrapped once around the ring gives you extra grip without marking the plastic. It’s the same trick people use to open a stuck jar lid.
Manufacturer and retailer guidance is consistent on one point: metal picks and razor blades near optical coatings risk permanent scratches that no amount of cleaning will fix, so every one of these methods relies on plastic, tape, or gentle rotation instead of force.
Clearing adhesive residue and checking the lens afterwards
Once the protector is off, you’ll usually see a thin film of glue left behind, and how you clean it matters almost as much as how you removed the protector itself.
- Dampen a cotton swab lightly with isopropyl alcohol at 70% concentration or higher, since this strength dissolves adhesive quickly without needing to scrub.
- Wipe once, then immediately follow with a dry microfibre cloth. Don’t let the alcohol sit or pool near the edge of the lens housing.
- For stubborn residue that won’t lift with alcohol alone, a gel adhesive remover specifically labelled safe for optics is a reasonable second step. Avoid acetone entirely, and never leave any liquid sitting on the phone for an extended period, since prolonged moisture near the housing can work its way past the seal.
- Finish with a visual check under good light, looking for smears, hairline scratches, or leftover glue at the rim.
- Take a test photo, ideally of something with fine detail like text or foliage, and zoom in to check sharpness and look for halos or ghosting that would suggest residue is still on the glass.
A hazy or soft-focus test shot almost always means there’s still a thin layer of film residue rather than actual lens damage, so a second, lighter alcohol pass usually clears it.
What to do when a protector won’t come off cleanly
Most protectors come off within a few minutes using the steps above, but a small number put up more of a fight. Here’s the order to work through before you consider the job unsalvageable.
- Give the adhesive another short blast of low heat, then try again with a fresh tape tab rather than reusing one that’s lost its grip.
- Switch to a different edge of the protector if one corner isn’t lifting, and try a slightly different angle with the plastic pick.
- If two or three careful attempts haven’t shifted it, stop. Continued force at this point is what causes cracked lenses and scratched glass, not stubbornness paying off.
- Watch for shards embedded near the housing, deep scratches on the lens itself, or autofocus that stays sluggish or hunts after cleaning. Any of these point to genuine damage rather than leftover residue.
- A minor clean-up or residue removal by a repair technician is a small job. A full lens replacement is a bigger one, and it’s the point where handing the phone to a professional is cheaper than risking further damage yourself.
If your photos still look soft or blurry after removal, it’s worth ruling out leftover film before assuming the camera itself is faulty.
Why This method is backed by various observations from the protective accessories industry
These steps line up with what SmartProtectors sees across thousands of orders: patience with soft tools beats speed with sharp ones every time, and the phones that come back scratched are almost always the ones where someone reached for a blade instead of tape. If you want more detail on how a damaged or ill-fitting protector affects your shots, our piece on whether a lens protector is worth fitting is worth a read before you decide what to put back on.
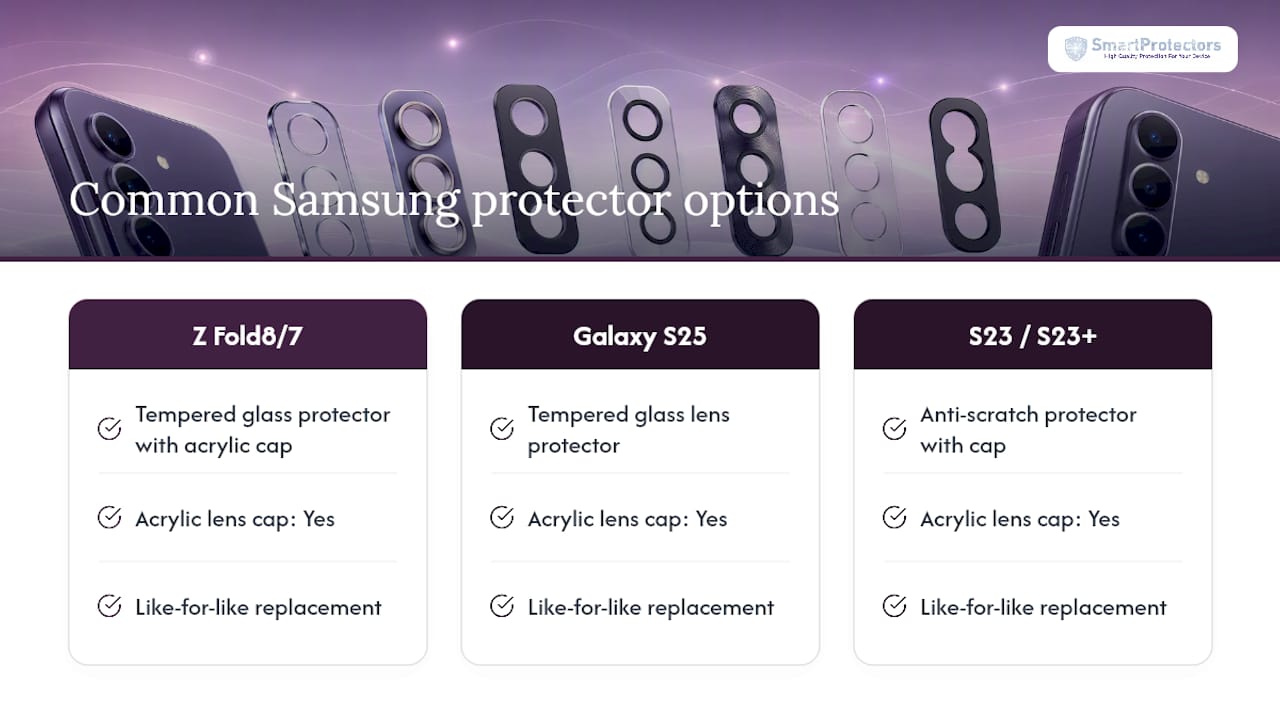
If you’re after a like-for-like replacement, three options cover the most common Samsung models: the tempered glass protector with acrylic cap for the Z Fold8 Ultra and Z Fold7 5G, the Galaxy S25 tempered glass lens protector, and the anti-scratch protector for the Galaxy S23 and S23+, all fitted with an acrylic lens cap for extra impact protection. If your model isn’t listed, SmartProtectors takes product requests and sources hard-to-find fits, including installation accessories, in a timely manner.
When it’s worth keeping a lens protector at all
There’s a real trade-off between protection and image quality, and it’s worth being honest about it rather than assuming a protector is always the right call. If your phone spends time at the beach, on a building site, or in a rucksack with keys and coins, a protector earns its keep by taking the scratches your lens otherwise would. But for everyday indoor and city use, some manufacturers don’t even list official lens protectors as an accessory, and a bare lens often produces sharper, cleaner shots with fewer reflections.
The safe-removal priorities stay the same either way: soft tools, low heat, and patience over force. If you do decide to remove yours permanently, or just want a better-fitting replacement, SmartProtectors’ sourcing service can match a protector to your exact model.
— Dian
Get the right replacement lens protector fitted fast
Once your old protector is off, fitting a properly sized replacement is far cheaper than risking a bare lens on a phone that sees daily wear. SmartProtectors stocks exact-fit options for current Samsung models, including the Z Fold8 Ultra and Z Fold7 5G lens protector with acrylic cap, the Galaxy S25 tempered glass protector, and the Galaxy S23 and S23+ anti-scratch protector.
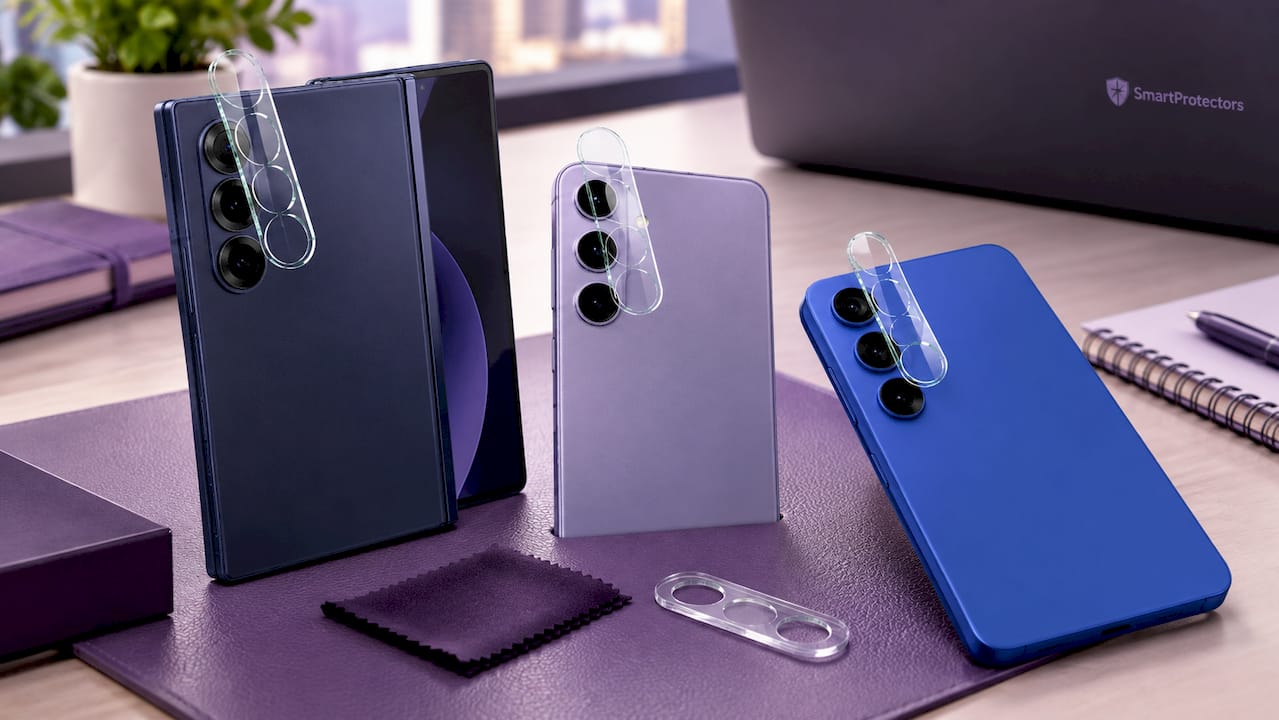
If your phone isn’t a current-generation Samsung, don’t assume there’s nothing available. SmartProtectors takes model-specific requests and sources hard-to-find fits directly, so you’re not stuck reusing a scratched or cracked protector because nobody stocks your handset. For steadying your phone while you inspect the lens or take test shots, a simple phone holder keeps both hands free. Browse the current range or submit a request for your exact model to get a correctly sized protector, acrylic cap included, on its way.
Sources
- How To Remove A Camera Lens Protector On An iPhone (Without Scratching The Glass)
- How To Remove Camera Lens Protector: Easy Step-By-Step - My Tech Grid
- How to Remove a Camera Lens Protector: A Step-by-Step Guide - CameraLensHub
FAQ
How do I remove a stuck camera lens protector?
Warm the edge briefly with a hairdryer on its lowest setting, then lift with a folded tape tab or plastic pick rather than a fingernail. If it still won’t shift after two or three gentle attempts, stop and consider professional help rather than forcing it.
How do I remove a broken or cracked camera lens protector?
Press a strip of clear packing tape over the cracked surface first to hold the shards together, then lift carefully from one edge and collect any loose fragments in a small tray as they come free.
Can I just peel off my screen or lens protector?
You can peel most film protectors off directly, but lifting an edge with tape or a fingernail first, then peeling slowly at a low angle, avoids the scratches that come from pulling straight up or digging a pick under the centre.
How do I remove a Gadget Guard or similar branded lens protector?
Branded film protectors come off using the same method as any adhesive film: lift a corner with tape, apply brief low heat if it resists, and peel slowly rather than yanking, then clean any residue with isopropyl alcohol.
Do I need to replace my lens protector after removing it?
Not always. Replace it if your phone regularly faces sand, dust, or drops, since the protector absorbs scratches your lens otherwise would; for everyday indoor use, many owners find a bare lens gives sharper results, and SmartProtectors stocks exact-fit replacements if you decide you want one back on.