

Wipe your screen protector daily with a dry microfibre cloth, working from the centre outward. For grease or fingerprints, dampen the cloth with distilled water or a single drop of mild dish soap rather than reaching for anything stronger. Isopropyl alcohol is fine as an occasional spot treatment on the top surface only, and never near the edges or the adhesive underside. Tempered glass is tougher than most people assume: if it’s still intact, you can usually rinse the sticky side, air-dry it, and reapply.
TL;DR:
- Using distilled water and a microfiber cloth prevents mineral spots and scratches during daily cleaning, while alcohol wipes should be used sparingly for disinfecting.
- Dust and bubbles beneath a screen protector can often be fixed with careful lifts, masking tape, and proper lighting, but persistent issues may require reapplication.
- Tempered glass protectors can typically be washed and reused if they are intact and free of cracks, whereas film protectors usually cannot withstand multiple cleanings.
- Harsh household chemicals like bleach, ammonia sprays, or abrasive cleaning tools can damage the oleophobic coating, leading to more smudges and rougher swipe feel.
- Installation tools and full-glue protectors improve reapplication success and reduce dust and bubble problems during both initial placement and reinstallation.
Table of Contents
- How do you clean the top surface of a screen protector?
- How do you fix dust or bubbles trapped under a screen protector?
- Can you wash and reapply the sticky side of a tempered-glass protector?
- What cleaners and habits ruin a screen protector’s coating?
- When should you replace a screen protector instead of cleaning it?
- Why installation tools make cleaning and reapplying easier
- What most cleaning advice gets wrong about screen protectors
- Which SmartProtectors products suit this cleaning and reapply routine?
- Sources
How do you clean the top surface of a screen protector?
The top surface takes the daily punishment, so it deserves a routine rather than an occasional wipe-down. Start dry. A soft microfibre or lint-free cloth, moved in straight strokes from the centre of the screen out towards the edges, lifts most everyday grime without pushing grit around and scratching the coating.
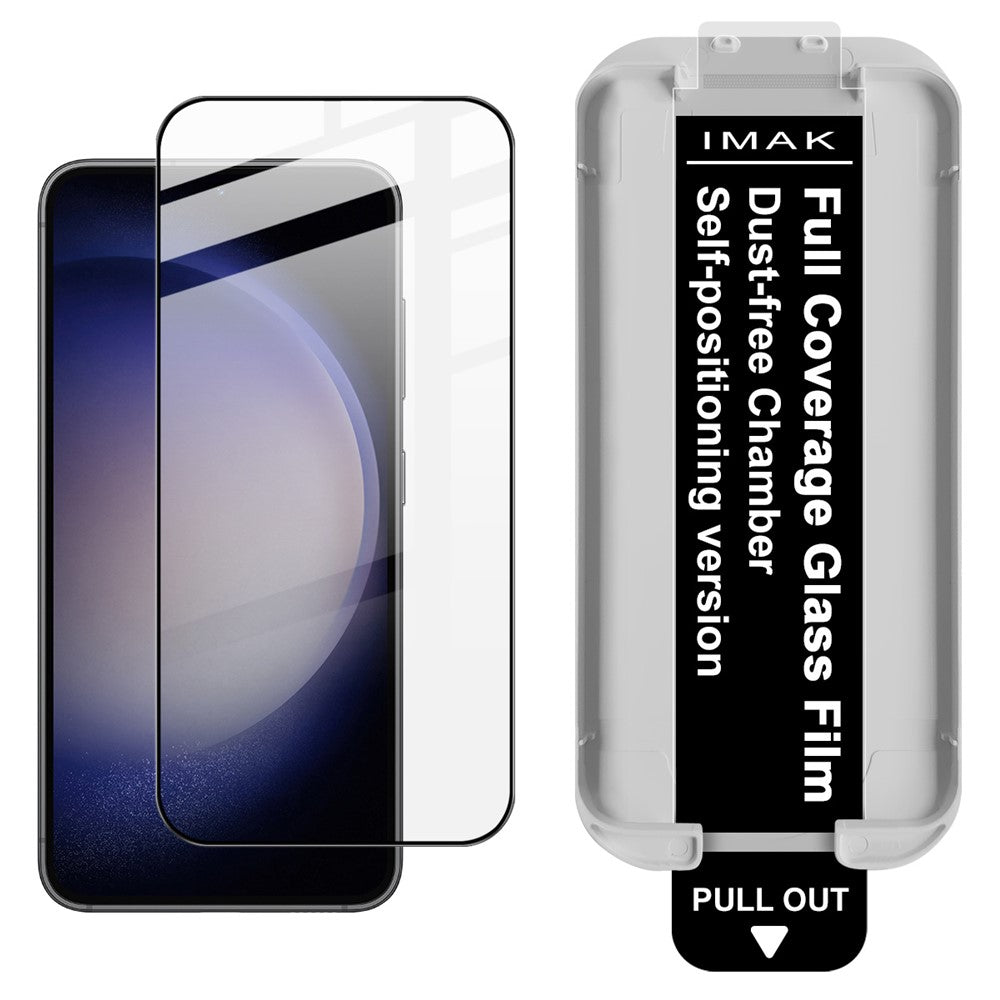
For anything the dry pass doesn’t shift, dampen (don’t soak) the same cloth with distilled water, or add one drop of mild dish soap. Wring it out properly first. A cloth that’s too wet risks moisture creeping under the protector’s edge or into the phone’s charging port, speaker grille, or camera housing. Wipe gently, then follow with a dry pass to remove any residue.
Sanitising is a separate job from cleaning grime off, and it matters more than most people think. Mobile devices can carry tens of thousands of bacteria per square inch, largely because we touch them with unwashed hands dozens of times a day. For disinfecting, Isopropyl alcohol wipes are generally fine when used sparingly and carefully on the top surface, provided contact is brief and you steer well clear of the edges, where alcohol can seep beneath the glass.
Stick to the right tools and the protector will keep its clarity for years:
- Microfibre cloths or lint-free eyewear cloths for both dry and damp wiping
- Distilled water rather than tap water, which can leave mineral spots
- Alcohol wipes reserved for occasional disinfecting, not daily use
- Avoid paper towels, tissues, and kitchen roll, all of which shed fibres and can scratch
- Avoid abrasive sponges or anything with texture
Pro Tip: Breathe gently on the screen before your dry wipe. It adds just enough humidity to loosen dust without soaking the cloth.
How do you fix dust or bubbles trapped under a screen protector?
Trapped dust and stray bubbles are usually fixable without buying a replacement, but you need decent lighting to find the culprit first. Hold the phone at an angle under a lamp or by a window. Side lighting throws tiny specks into sharp relief that you’d never spot looking straight on.
A steamy bathroom genuinely helps here, and it’s a trick professional installers rely on: running a hot shower for a few minutes settles airborne dust before it can land on your screen mid-fix.
- If it’s a plain air bubble with no visible dirt, wrap a card (an old loyalty card works well) in microfibre and press from the centre of the bubble outward towards the nearest edge.
- If a bubble refuses to shift, there’s almost certainly a speck of dust underneath it. Lift the nearest corner slightly using a thin card.
- Use a small piece of masking tape or a dust-removal sticker to lift the particle off the adhesive rather than wiping, which just smears it around.
- Lower the protector back down slowly, pressing from the centre out to chase any air ahead of your fingers.
If you’re lifting more than one corner or the glass shifts noticeably out of alignment, stop and treat it as a full reapplication rather than a quick fix. Our guide on fixing dust under a screen protector covers trickier cases in more depth.
Can you wash and reapply the sticky side of a tempered-glass protector?
Yes, and this is where tempered glass earns its reputation as the more forgiving option. Plastic film protectors (PET or TPU) rarely survive a wash and reapply; their thinner adhesive layer degrades fast and tends to fold or tear on removal. Tempered glass is rigid enough to handle the process, provided there are no cracks and the silicone adhesive layer is still in decent shape.
Removal first: before selling your device, proper cleaning and resetting are essential steps to protect your data and ensure buyer satisfaction, as described in factory reset before selling.
- Slide a thin card (not a fingernail) under one corner and lift slowly.
- Hold the protector by its edges throughout. Fingers on the adhesive leave oils that are hard to fully rinse off.
- Set it down adhesive side up somewhere clean while you prep for washing.
Washing follows a simple sequence: rinse the adhesive under lukewarm running water, add a single drop of mild dish soap, and let the water do the work rather than scrubbing. The silicone adhesive is soft and can tear or lose its tack under pressure. Rinse thoroughly until no soap residue remains.
- Air-dry the protector standing on its edge in a dust-free spot, never lying flat where dust settles onto the wet adhesive
- Once fully dry, lift any last specks with a loop of masking tape rather than a cloth
- Reapply from one edge, pressing centre-out exactly as you would with a new protector
If you’re removing the protector permanently rather than reapplying, our screen protector removal guide walks through doing it without marking the screen underneath.
What cleaners and habits ruin a screen protector’s coating?
Window cleaners, ammonia-based sprays, and bleach are the three most common household products that quietly destroy a screen protector, and people reach for them because they’re already under the sink. Abrasive materials and harsh chemicals permanently strip the oleophobic coating, the invisible layer that resists fingerprints and lets your finger glide smoothly across the glass. Once it’s gone, smudges show up faster and swiping feels rougher, and there’s no bringing it back.
Undiluted alcohol left sitting at the edges for too long can also creep under the protector and weaken the adhesive over time, so treat it as a brief spot treatment, never a soak.
Avoid these:
- Glass or window cleaning sprays (ammonia strips the coating)
- Bleach or any chlorine-based product
- Kitchen roll, tissues, or paper towels (they scratch and shed fibres)
- Scouring pads, magic erasers, or anything textured
The safest habit is the simplest one: mild solutions for daily cleaning, alcohol only for the occasional spot disinfect, and nothing abrasive ever touches the glass.
When should you replace a screen protector instead of cleaning it?
Cleaning only gets you so far. Once the protector itself is compromised, no amount of careful wiping brings back the clarity or the smooth feel it had on day one.
Watch for these signs that it’s time to swap it out rather than clean it:
- Visible cracks or chips, even small ones at a corner, which spread under normal handling
- A rough, dragging feel under your finger where the coating has worn through
- Bubbles or lifting at the edges that won’t reseat no matter how you press them
- Mould, staining, or grime that won’t shift after washing, particularly on the adhesive side
Tempered glass generally tolerates several wash-and-reapply cycles before the adhesive weakens too much to hold reliably. Film protectors rarely survive one clean removal, so treat those as single-use. If you’re weighing up which type suits your next purchase, our guide on choosing the right tempered glass breaks down the trade-offs between film, glass, and hydrogel.
Why installation tools make cleaning and reapplying easier
Half the battle with screen protector maintenance happens before you’ve cleaned anything, at the moment of installation. Alignment frames and installation tools measurably cut down on dust and bubble problems compared with freehand fitting, which matters just as much on a reapplication as it did the first time round.
A few things worth knowing before your next fit or refit:
- A dust-free installation tray keeps particles away from the adhesive while you position the glass
- Full-glue coverage (rather than edge-only adhesive) holds more securely through repeated handling
- Fingerprint-unlock cutouts on modern protectors mean you don’t need to remove the protector for sensor issues, one less reason to handle the adhesive at all
If you’re weighing up your options for a device that gets reinstalled more than once, our range of screen protector types is a useful starting point before you buy.
What most cleaning advice gets wrong about screen protectors
Most guides treat cleaning and reapplication as two separate problems, one about wiping smudges, the other about fixing dust under the glass. In practice they’re the same skill applied at different stages. The person who knows how to lift a corner without cracking the glass is the same person who can wash the adhesive and reapply it cleanly. Learn one, and you’ve basically learned the other.
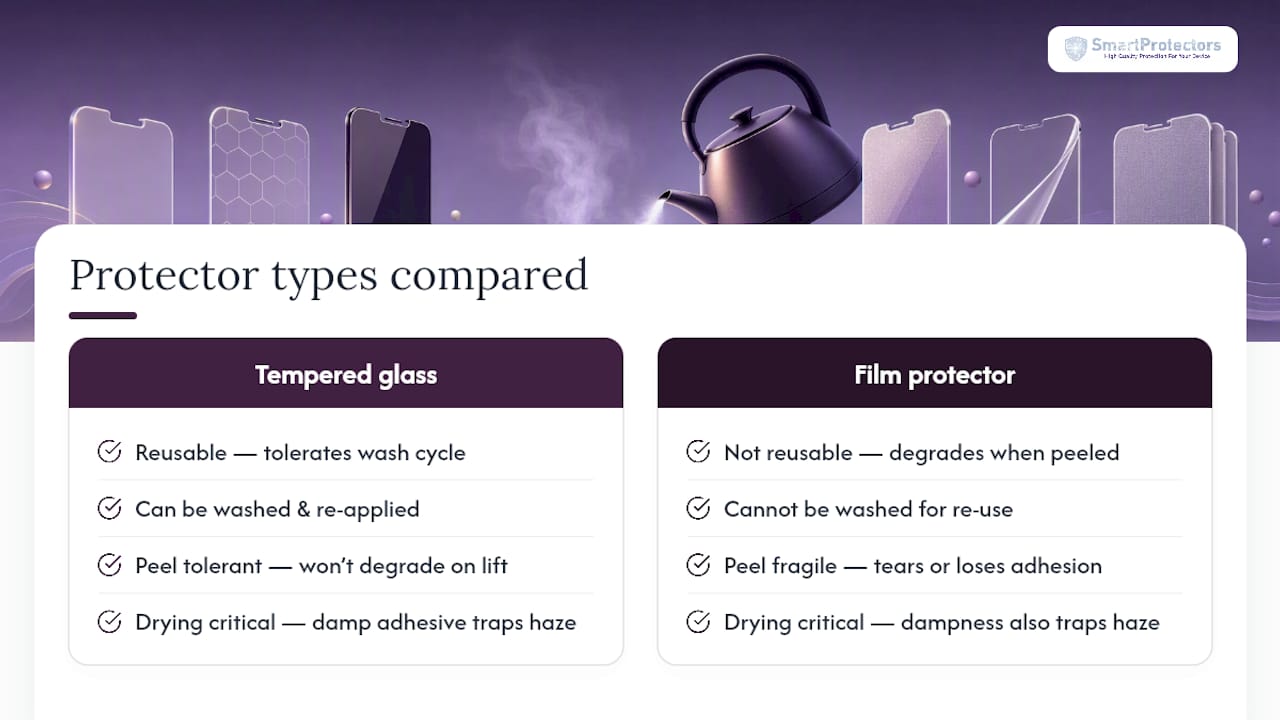
Where conventional advice falls short is in treating tempered glass and film protectors as interchangeable. They’re not. Film degrades the moment you peel it back; glass tolerates a genuine wash cycle. Readers who assume all protectors behave the same way end up either binning a perfectly good piece of glass too early, or trying to salvage a film protector that was never built for a second life.
If there’s one priority worth taking from all this, it’s patience with the drying step. Reapplying while adhesive is even slightly damp traps moisture as a permanent haze, no amount of pressing fixes that later. Air-dry properly, check for stray dust one last time, then apply.
— Dian
Which SmartProtectors products suit this cleaning and reapply routine?
If you’ve just worked through a wash and reapply and the glass still isn’t sitting right, or you’ve decided a crack means it’s time to move on, SmartProtectors stocks tempered-glass protectors built with exactly this kind of handling in mind.
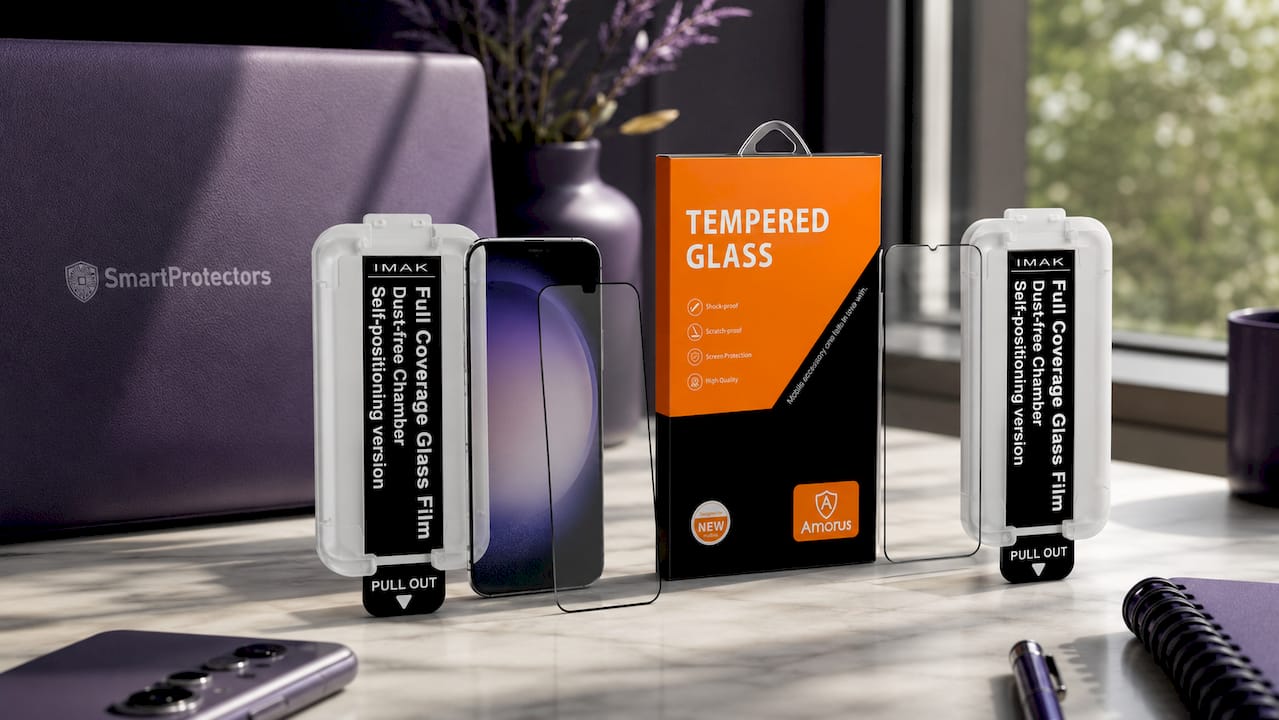
The IMAK full-glue tempered-glass protector for Samsung Galaxy S23+ and S22+ comes with a dust-free installation tool and full-glue film, which means better adhesion across repeated fits and a fingerprint-unlock cutout so you’re not lifting the glass every time your sensor plays up. The Samsung Galaxy S23 and S22 version offers the same shockproof, full-coverage build for anyone who wants durability that can handle a wash-and-reapply cycle without complaint. If you’re on an iPhone Air, the AMORUS HD tempered-glass protector delivers the clarity and washable resilience this guide has been describing throughout.
Can’t see your exact device listed? Submit a request through SmartProtectors and the team will source it for you.
Sources
- Addmaster: Micro-organisms on mobile devices — the facts
- CleanersGuide: How to clean screen protector
- SuperGuardZ: Wash and reuse screen protector