

Take the case off first. If the lifting stops the moment the case is gone, the case caused it, and a careful clean and reseat will usually sort a small lift at the edge. If the adhesive has already trapped dust or lost its grip, reapplying won’t hold, so replace the protector and switch to a shallower case or a case-friendly protector instead.
TL;DR:
- Lifting along the edges often results from case pressure, especially from aggressive front lips or tight-fitting cases, rather than a failure of the protector itself.
- Repeatedly pressing down on a lifted edge can fix the issue temporarily but is unlikely to hold if the adhesive’s integrity has been compromised by dust or multiple attempts.
- Properly aligning the protector with an installation frame or alignment tray before installation significantly reduces edge stress and subsequent lifting.
- Replacing a protector is advisable if it has cracks, chips, or central dust, or if lifting persists despite cleaning and reseating efforts.
- Allow at least 24 hours for adhesive to cure before fitting a tight case to prevent early lifting caused by premature pressure.
Table of Contents
- Quick checklist: test and fix a lifting screen protector in minutes
- Why your case may be lifting the protector
- How to rescue or replace a lifting screen protector
- Choosing case-friendly protectors and compatible cases
- When to replace the screen protector
- Why you can trust this advice
- What conventional lifting advice gets wrong
- Get the right protector for your case, not against it
- Sources
Quick checklist: test and fix a lifting screen protector in minutes
Before you touch anything else, run this sequence. It takes less time than reading about it.
- Take the case off and look at exactly where the protector lifts. If it’s only along one edge or at a corner, that’s your first clue.
- Photograph the problem zone. It sounds fussy, but comparing photos before and after cleaning tells you whether your fix actually worked.
- Use a dust removal sticker, a strip of sticky tape, or a microfibre cloth wrapped tightly around a fingertip to pull out any grit trapped under the lifted edge.
- Wrap a soft plastic card in a clean cloth and press firmly along the lifted section, working from the centre of the lift outward.
- Check the same spot again after an hour. If it lifts a second or third time in the same place, stop trying to fix it and plan to replace it.
Pro Tip: Never press down on a lifted corner with a bare fingernail or a hard edge. You’ll scratch the glass or push dust further under the film instead of out.
Skip the rescue entirely if you see cracks, chips, or dust sitting under the centre of the glass rather than just the edge. Central dust usually means the adhesive failed during the original install, and no amount of pressing will fix that.
Why your case may be lifting the protector
Most lifting isn’t random. It follows the shape of your case, and once you know what to look for, the cause is obvious within seconds.
A case with an aggressive front lip, the raised ridge that wraps slightly over the screen edge to protect it from drops, physically presses against the protector’s adhesive border every time you snap the case shut. That constant pressure works the adhesive loose over weeks, and case lip pressure and tight snaps are a well documented cause of protector peeling, particularly at corners where the case grips hardest.
Curved or bevelled screens make this worse. A flat tempered glass protector sitting on a curved edge leaves a tiny gap around the perimeter, and that gap is exactly where dust and moisture collect before working their way under the film.
Installation matters too. A protector fitted slightly off-centre puts more stress on one side, right where the case happens to clamp down hardest.
Signs the case is your actual problem:
- Lifting follows the shape of the case, appearing only where the case snaps or grips.
- One side or corner lifts consistently, while the rest stays flush.
- The lift reappears in the same spot within days of a fresh case fitting.
- Removing the case for a day or two stops the lifting from spreading further.
How to rescue or replace a lifting screen protector
Rescue attempt (only for edge lifts with no visible cracks):
- Dry-fit the case over the protector without pressing it fully home. This shows you exactly where contact happens, and it’s the fastest way to confirm the case is the culprit before you commit to anything.
- Lift the affected edge just enough to slide a dust sticker underneath, then pull it out slowly to collect debris.
- Press the edge down with the cloth-wrapped card, working in short, even strokes toward the centre.
- Test your fingerprint sensor, Face ID, or touch response across the reseated area before refitting the case.
If it lifts again in the same place, don’t repeat the process a third time. Vendor support guidance recommends dust stickers for exactly this kind of clean, but once adhesive has been disturbed twice, it rarely holds a third time.
Replacement method:
- Remove the old protector fully, then clean the screen thoroughly with an alcohol wipe and a dry microfibre pass.
- Use an installation frame or alignment tray for the new protector rather than eyeballing the position.
- Check the case fit dry before final adhesion, particularly on curved displays where even a millimetre of misalignment matters.
Reviews consistently favour protectors that ship with an alignment tray, because a frame removes the guesswork that causes uneven edge stress in the first place.
Choosing case-friendly protectors and compatible cases
Getting the combination right the first time saves you doing any of the above twice.
- Check the product description for “case friendly” language, or look for protectors that ship with a full installation frame rather than loose adhesive edges.
- If your case is snug, choose a protector with a small visible border rather than one designed to overhang the full edge, since overhang is exactly what a tight case will catch on.
- Pick a case with a lower front lip, or one whose profile is designed around the protector’s specific edge cut rather than a generic universal fit.
- For heavy daily use, a built-in protector case removes the alignment problem entirely by fusing the case and screen cover into one unit. These two-piece designs are popular precisely because they cut out installation error, though they can trap dust at the seam if you don’t clean around the edges occasionally.
Pro Tip: If you’ve just fitted a fresh protector, wait 24 hours before snapping on a tight case. The adhesive needs time to cure fully, and forums are full of reports of edges peeling within days when a case goes on too soon.
For a deeper look at material and adhesive choices, our guide to choosing the right tempered glass covers edge profiles in more detail.
When to replace the screen protector
Replace rather than repair when you see any of the following:
- Visible cracks or chips anywhere on the surface, even hairline ones.
- Multiple lifting edges rather than a single localised spot.
- Dust or debris sitting under the centre of the glass, not just the border.
- The edge lifts again within a day or two of a careful clean and press.
Run a simple press test across all four edges and both corners. If one section refuses to seat flat no matter how many times you clean under it, the adhesive has lost its grip permanently rather than just picked up dust. Our full breakdown of edge lifting causes and fixes covers borderline cases in more detail, including what to check before you write a protector off entirely.
Why you can trust this advice
SmartProtectors has spent years fitting, testing, and replacing screen protectors across hundreds of device models, which is exactly why the fixes above focus on what actually holds up under a case rather than what sounds good in theory.
- SmartProtectors supplies durable, reliable protection for phones, tablets, watches, laptops and earbuds, including hard-to-find models via its request-and-source service.
- Further reading: Edge lifting screen protector: quick fixes and best choices and Can you reapply a screen protector? Yes, with limits.
- Written by Dian, covering practical device protection and troubleshooting for SmartProtectors.
What conventional lifting advice gets wrong
Most guides treat a lifting protector as a defect to complain about rather than a fit problem to diagnose. That’s backwards. The protector is rarely the failure point; the mismatch between its edge profile and your case’s lip is.
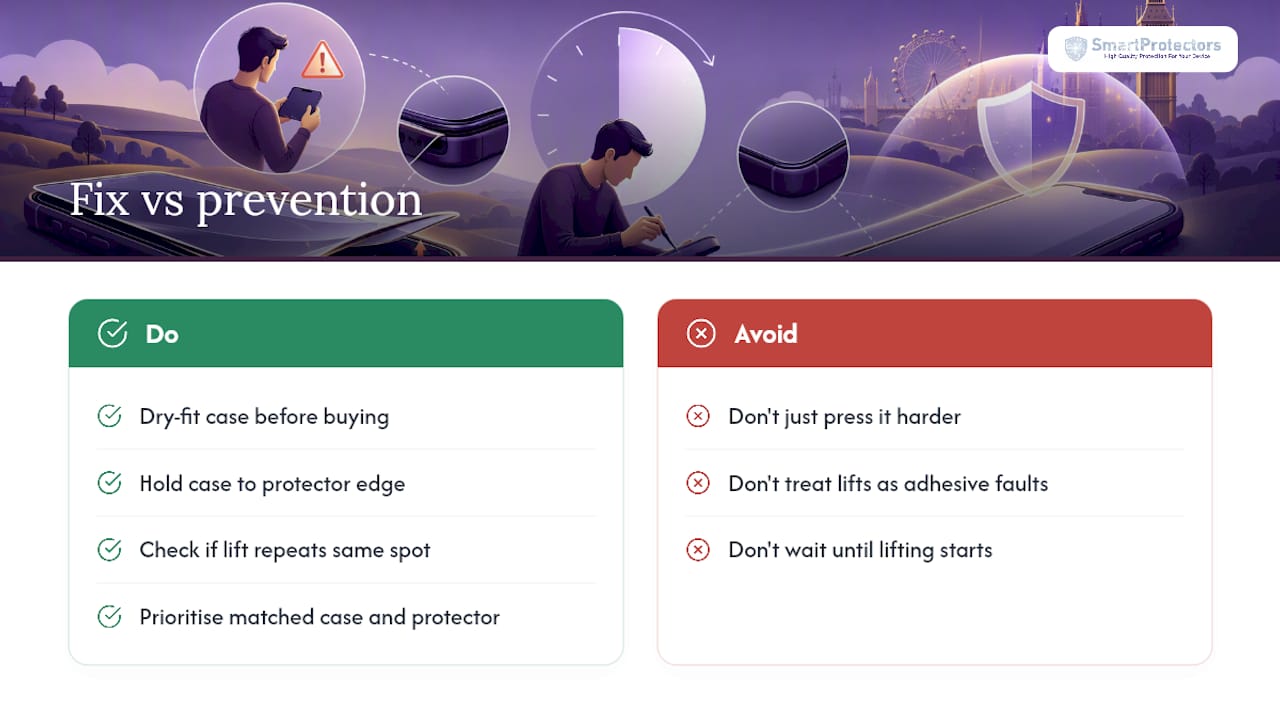
The advice that gets repeated most, “just press it down harder”, only works once. Adhesive that’s been disturbed by case pressure has a limited number of times it can reseal before it simply stops gripping. Treating every lift as a pressing problem, rather than checking whether it’s the third or fourth time in the same spot, wastes time on a fix that was never going to hold.
What I’d prioritise differently: do the dry-fit test before buying either product, not after the lifting starts. Hold the case against the protector’s edge before you commit to either one. It takes thirty seconds and prevents most of the frustration this article exists to solve. Prevention through a properly matched case and protector beats any repair technique going.
— Dian
Get the right protector for your case, not against it
Choosing between rigid glass and flexible film comes down to how your case fits, and SmartProtectors stocks both so you’re not stuck guessing which one your case will tolerate.
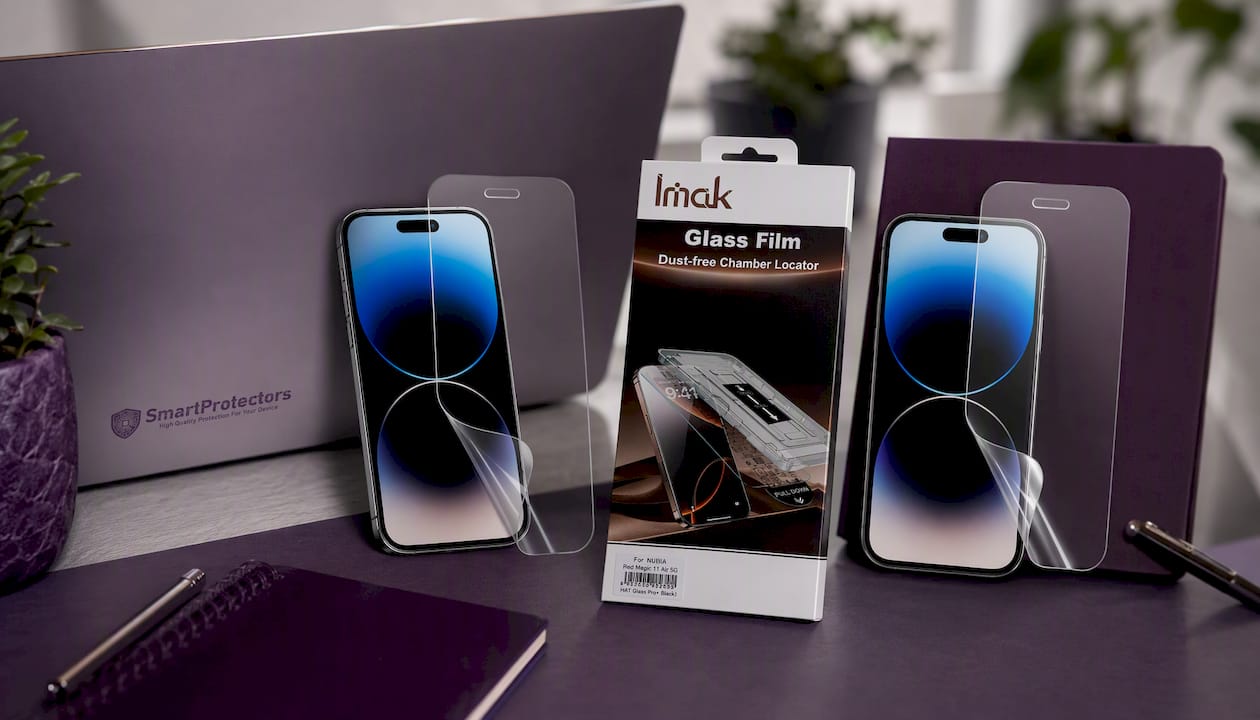
If your case has a snug lip that keeps catching the edge of tempered glass, the Anti-glare Matted Explosion-proof PET Film for iPhone 15 / iPhone 15 Pro flexes with case pressure instead of fighting it, and the same film is available for larger handsets through the Anti-glare Matted Explosone-Proof PET Film for iPhone 15 Pro Max / 15 Plus. Prefer tempered glass for its scratch resistance? The IMAK H Series Tempered Glass Screen Protector with Installation Frame for ZTE nubia RedMagic 11 Air 5G ships with an alignment frame built in, so misalignment isn’t what causes your next lift.
Can’t find your exact model listed? Submit a request and SmartProtectors will source it for you.
Sources
- Glass screen protector lifting: causes, fixes, and prevention guide – INAIRSPACE
- 5 Of Amazon’s best-selling phone cases with a built-in screen protector — BGR
- The 2 best iPhone screen protectors of 2026 | Reviews by Wirecutter