

Yes, you can reapply a screen protector, but only in narrow, recent-install circumstances. If you peeled it off minutes ago, the glass or film is undamaged, and the adhesive hasn’t picked up dust or fingerprints, a careful reapplication usually works. Beyond that window, the odds drop fast.
Before you attempt it, check for these dealbreakers:
- Cracks, chips or warped edges — never reapply, the material is compromised
- Cloudy or patchy adhesive — contamination has already set in
- Weeks or months of prior use — the glue has lost most of its tack
If none of those apply, the step-by-step method below is worth trying.
Key Takeaways
Reapplying a screen protector only works reliably within minutes of the original install, on an undamaged protector with uncontaminated adhesive.
| Point | Details |
|---|---|
| Check the clock first | Reapplication is realistic only shortly after the original peel, before adhesive contamination sets in. |
| Inspect before you reuse | Cracks, chips, warped edges or cloudy adhesive mean replace, not reapply. |
| Fix dust, don’t chase air | Use a dust sticker for trapped particles; let genuine air bubbles settle over 24 hours instead. |
| Limit re-lifts to two | Each edge lift weakens the adhesive, so a third attempt rarely holds. |
| Replace when reuse fails | SmartProtectors’ PET film and IMAK Pro+ tempered glass options give a clean, fitted restart for current iPhone models. |
Table of Contents
- Can you reapply a tempered glass or plastic screen protector?
- Tools, workspace and preparation you need before you start
- Step-by-step: remove, inspect, clean and reapply a screen protector
- Dealing with dust, bubbles and common failure modes
- When to discard and install a new protector
- Smart Protectors’ practical tips and product signposts
- Signs a screen protector is no longer effective (even without damage)
- The reapplication window is narrower than most advice admits
- Get a fresh protector fitted right the first time
- Sources
Can you reapply a tempered glass or plastic screen protector?
It depends almost entirely on the material and the clock. Tempered glass uses a silicone-based adhesive layer that bonds well once, but that bond weakens the moment you lift it, and it’s rarely reusable after removal because dust and lint contaminate the adhesive almost instantly. PET and TPU films behave a little differently. Their adhesive is thinner and more flexible, which gives them marginally better tolerance for a second placement, though “marginal” is doing a lot of work in that sentence.
The real enemy in either case isn’t the material itself. It’s contamination. Skin oils, lint, and airborne dust land on an exposed adhesive layer within seconds, and once they’re embedded, no amount of repositioning fixes it.
- Tempered glass: strong first bond, poor second attempt
- PET/TPU film: weaker bond overall, slightly more forgiving on reuse
- Adhesive contamination, not the glass itself, causes most failed reapplications
Treat reapplication as a short-window rescue for a botched install, not a long-term habit. Reapplication works best when attempted within minutes of the original placement, since a protector that’s been on for weeks has usually gathered enough contamination underneath to make the adhesive unreliable.
Tools, workspace and preparation you need before you start
Success here comes down to preparation, not luck; following practical device-preparation steps before selling ensures your phone is ready for buyers and smooth repair or accessory installation. Gather these before you touch the screen:
- A lint-free microfiber cloth
- A screen-safe alcohol wipe (isopropyl based, not household cleaner)
- A dust-removal sticker or a short strip of low-tack tape
- A soft card or squeegee for pressing out air
- A clean, flat, well-lit surface
Room choice matters more than most people expect. A low-dust space works, but a genuinely useful trick is running a hot shower for a couple of minutes beforehand and working in the resulting steam. The humidity settles airborne dust so it doesn’t drift onto the adhesive while you work. Position yourself under a strong, angled light too. Specks that are invisible under flat overhead light show up clearly the moment you tilt the screen towards a lamp.
Pro Tip: Never rinse the adhesive side of a protector under a tap or wipe it with soapy water. It might look like it’s cleaning off dust, but it actually degrades the adhesive layer and guarantees a weaker second bond.
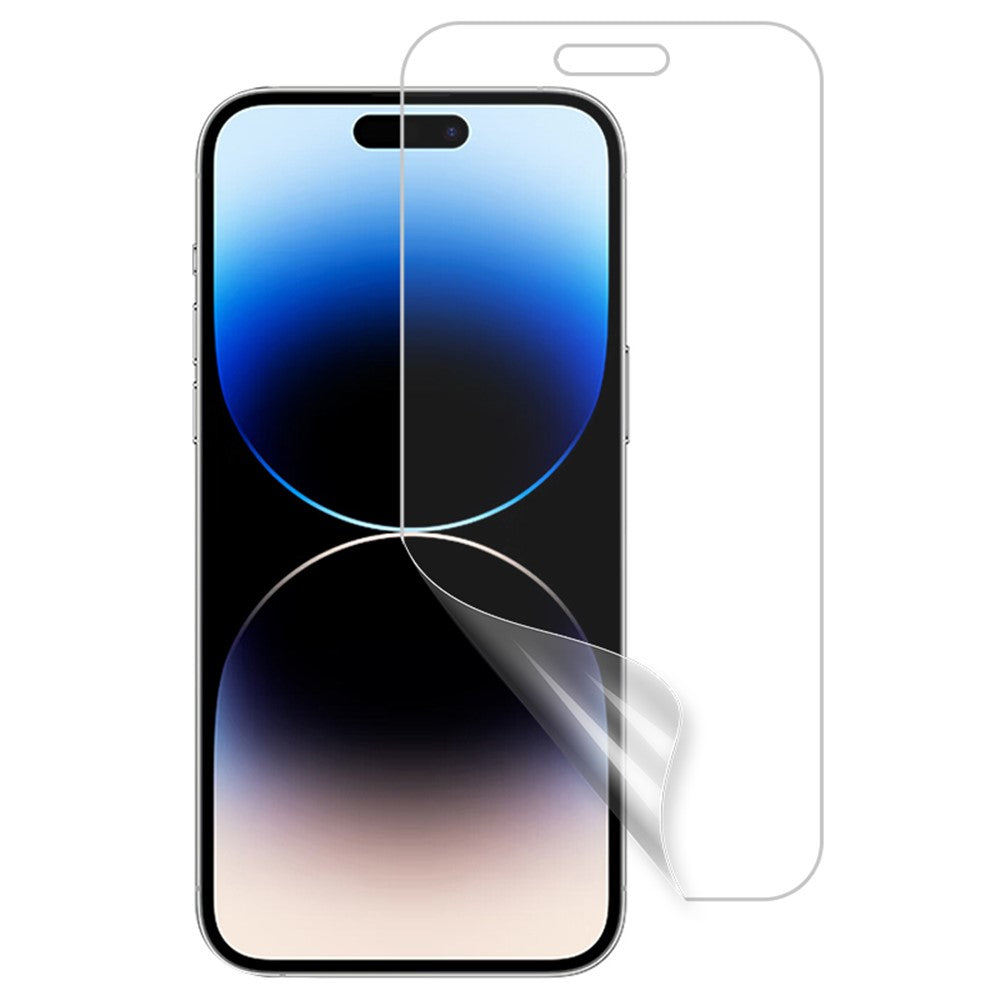
Avoid touching the adhesive surface with bare fingers wherever possible. Hold the protector by its edges only.
Step-by-step: remove, inspect, clean and reapply a screen protector
Power the device off first. It stops accidental touches from registering and dims the screen, which makes dust far easier to spot.
Removing the protector:
- Slide a fingernail or a small piece of low-tack tape under one corner
- Lift slowly at a low angle rather than yanking it straight up
- Peel back steadily across the full length of the screen
Set the protector down adhesive-side up on a clean, flat backing (the plastic sheet it originally shipped on works well). Inspect it under your angled light for cracks, chips, or visible smudges on the adhesive. Any of those and reapplication isn’t worth pursuing.
Cleaning the device screen:
- Wipe the phone or tablet screen with the alcohol wipe to lift oils and fingerprints
- Dry immediately with the microfiber cloth to prevent streaking
- Press the dust-removal sticker gently onto the screen surface to lift any remaining particles
If you can only see a single stray speck of dust rather than a scattering, don’t panic. Lightly dab the dust sticker on both the screen and the corresponding spot on the protector’s adhesive. A single trapped particle is usually fixable this way, whereas several particles scattered across the surface generally mean it’s time to start over with a fresh protector.
Reapplying:
- Do a dry run first: hold the protector in place without removing the adhesive backing to confirm alignment against the camera cutout and speaker grille
- Once you’re confident, peel back the adhesive film
- Lower the protector from one edge downward rather than dropping it flat
- Press firmly in the centre and work outward with the squeegee or a soft card, pushing air towards the edges
This installation sequence, prepare the environment, clean the surface, remove dust, then apply, is the same four-step logic professional installers rely on, and it’s the difference between a clean seat and a screen full of trapped air.
If a bubble refuses to shift and you can see a tiny dark fleck underneath it, lift the nearest edge just enough to slide the dust sticker in and remove the particle, then re-press. If you find several bubbles like this scattered across the screen, stop. That’s a replacement job, not a rescue.
Dealing with dust, bubbles and common failure modes
Not all bubbles mean the same thing, and treating them the same way wastes a protector you might otherwise save. Air bubbles from the installation itself tend to be broad, soft-edged, and often shrink or vanish entirely within a day as the adhesive settles and off-gasses. Dust bubbles look different. They’re small, sharply defined, and usually sit around a visible fleck. They will not resolve on their own.
- Broad, soft bubbles near the centre — usually trapped air, give it 24 hours
- Small, sharp bubbles with a visible speck — trapped particle, needs manual lifting
- Bubbles that reappear after pressing flat — likely a contamination problem underneath, not a pressing technique problem
Here’s the part most guides skip: every time you lift an edge to chase a bubble, you weaken the adhesive a little more. One re-lift is usually fine. Two is pushing it. By a third attempt, the bond has typically degraded enough that even a perfect reseat won’t hold long term, and you’re better off cutting your losses.
Pro Tip: If you’ve already re-lifted a corner twice trying to chase the same bubble, stop touching it. Let it sit overnight before deciding whether it needs a full redo, since forcing a third attempt almost always makes the adhesive worse, not better.
When to discard and install a new protector
Reapplication has a firm ceiling, and knowing where it sits saves you from wasting time on a protector that was never going to hold.
- Cracks, chips or warped edges — structural damage means the protector is unfit for reuse and reapplying risks the glass splintering under pressure
- Cloudy, patchy or visibly contaminated adhesive — once the glue has that hazy look, it won’t grip evenly again
- You need dependable impact protection — reused protectors are a stopgap, not a substitute for a fresh one
If your device is heading into a bag, a pocket with keys, or a toddler’s hands tomorrow, don’t gamble on a second-hand seat. A new protector is the safer call every time reliable protection actually matters.
Smart Protectors’ practical tips and product signposts
A bubble-free result comes down to sequence, not brute force. SmartProtectors’ own installation walkthrough covers the full bubble-free process step by step, and the dust-under-protector guide is worth bookmarking if trapped particles keep undermining your seats.
- Edge lifting after a day or two often points to a different problem. Check the rainbow effect and edge-lift guide before assuming it’s a dust issue
- If your reapplication attempt fails, replacing rather than persisting is usually the faster fix
- SmartProtectors stocks film and glass options across current iPhone models for exactly this scenario
Signs a screen protector is no longer effective (even without damage)
Cracks and chips are obvious failure signs. What catches people out is a protector that looks perfectly fine but has quietly stopped doing its job.
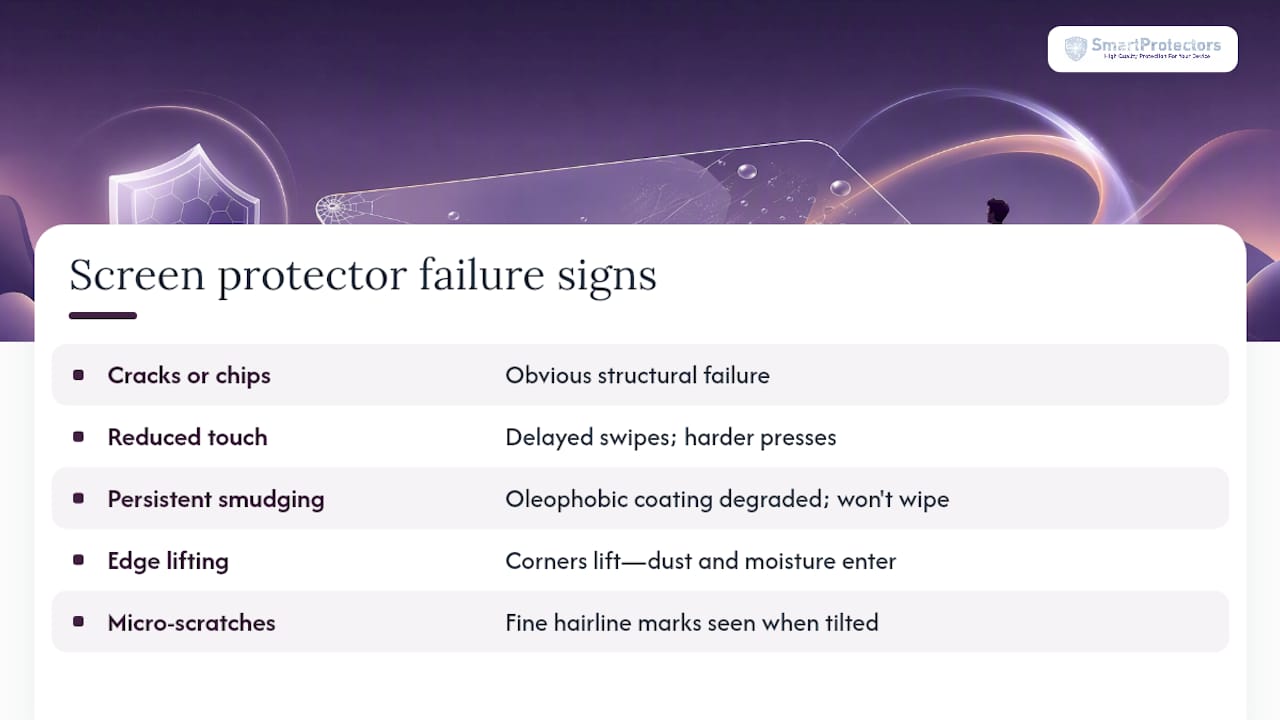
Touch sensitivity is often the first tell. If swipes feel slightly delayed or you’re pressing harder than you used to for the keyboard to register, the surface layer has likely worn thin from months of contact. Fingerprint smudges that won’t wipe away cleanly are another sign. Oleophobic coatings degrade with use, and once that coating is gone, the glass or film underneath is more exposed to scratches than it looks.
Check the edges under strong light too. A protector that’s lifted even a hair’s width at the corners is letting dust and moisture creep in underneath, and that’s a slow path to the cloudy adhesive contamination covered earlier. Micro-scratches are trickier to spot head-on but show up instantly when you tilt the screen towards a lamp. A protector covered in fine hairline marks has already absorbed dozens of small impacts meant for your actual screen. It’s done its job. That’s not a flaw, it’s the point of having one. But it also means it’s no longer doing much good going forward.
If you’re noticing two or more of these signs together, reduced touch response, persistent smudging, edge lift, or visible micro-scratching, that protector has reached the end of its useful life regardless of whether it’s cracked.
The reapplication window is narrower than most advice admits
Most guidance on this topic treats reapplication as a routine skill you can perform whenever a protector looks slightly off. It isn’t. The honest read of how adhesive actually behaves is that you get one real shot, taken within minutes of the original peel, before contamination and adhesive fatigue make the outcome unpredictable.
Where conventional advice falls short is in pretending persistence pays off. Chasing the same bubble for the fourth time, or re-lifting a corner because it still looks “almost right,” isn’t diligence. It’s degrading the one asset that was working in your favour. The reader’s priority should be diagnosis, not effort: is this a dust bubble or a settling bubble, is the adhesive still clear, has it been minutes or weeks since the original install? Answer those three questions honestly and the right move becomes obvious. Sometimes that’s a squeegee and thirty seconds of patience. Sometimes it’s accepting that the protector had a good run and buying a replacement rather than fighting a losing battle with tired glue.
— Dian
Get a fresh protector fitted right the first time
If reapplication doesn’t pan out, SmartProtectors gets you back to a fully protected screen faster than sourcing a generic replacement, with fitted options for current handsets rather than a one-size guess. Recent iPhone owners have three sensible routes depending on what they want from the surface finish.
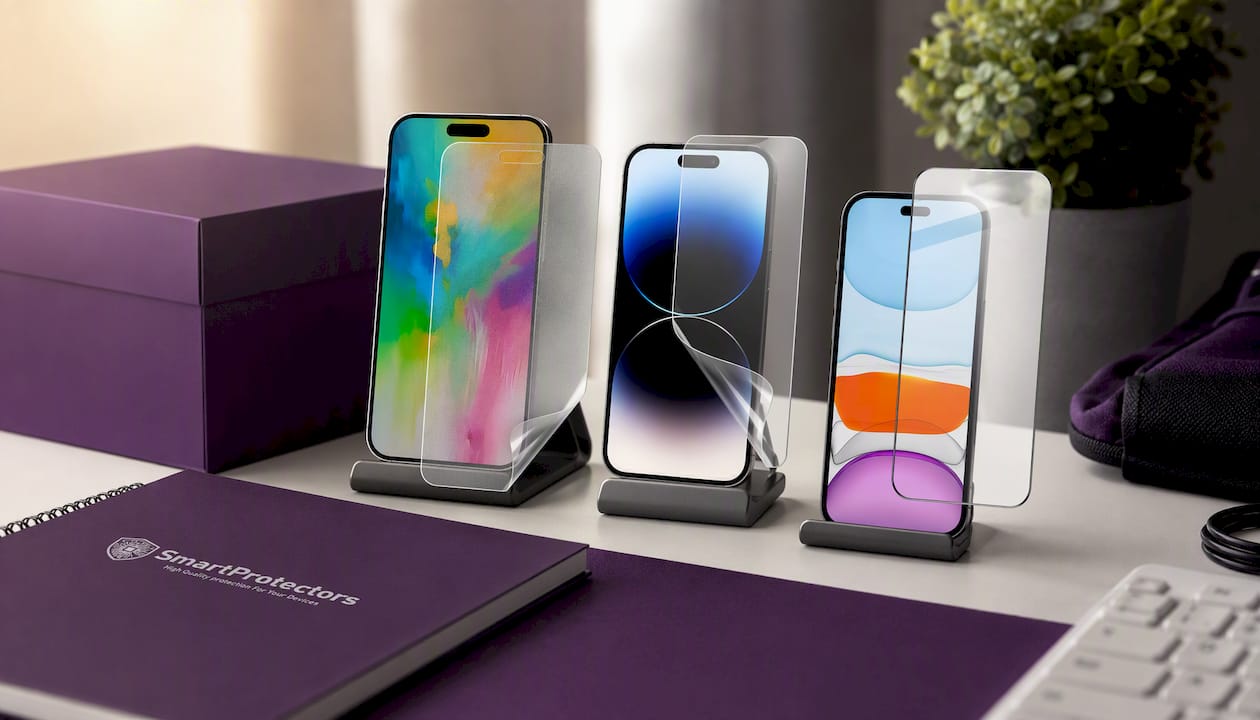
If you want a matte, fingerprint-resistant finish with full edge coverage, the anti-glare PET film for iPhone 16 is built for exactly that. iPhone 15 and 15 Pro owners have the equivalent anti-glare film option sized to their model. For anyone who wants glass rather than film, and prefers the harder, glossier feel tempered glass gives, the IMAK Pro+ tempered glass protector comes with alignment tooling in the box, which removes most of the guesswork that causes bubbles in the first place. If your exact device isn’t listed, SmartProtectors takes sourcing requests for less common models rather than leaving you without an option. Browse the current range and pick the fit that matches your screen finish preference.
Sources
- Screen-protectors
- Can I Reuse a Tempered Glass Screen Protector? The Full Practical Guid – INAIRSPACE