

Flexible EPU and hydrogel films give the closest edge-to-edge fit on a curved screen, because they stretch to follow the curve instead of fighting it. Full-glue tempered glass comes second; dry pre-applied glass usually loses the fight at the edges. Whichever you buy, use an alignment frame or a taped hinge rather than free-hand placement, and give any full-glue or wet install 12 to 24 hours before you judge the result.
TL;DR:
- Flexible films like EPU, hydrogel, and TPU conform better to severe curves than rigid tempered glass, which often lifts at the edges.
- Using an alignment frame or jig significantly improves fit accuracy and reduces installation time, especially on highly curved screens.
- Proper workspace preparation, including thorough cleaning and test-fitting, is crucial to prevent dust trapping, misalignment, or bubbles during installation.
- Full-glue adhesive application offers the most uniform bond on severe curves, but demands patience and careful, slow placement.
- Confirm the protector’s model, fit, and adhesive type before purchase to ensure compatibility with your device’s curvature and case.
Table of Contents
- Which protector type actually fits a curved screen?
- Setting up your workspace before you start
- How do you fit a curved screen protector step by step?
- Fixing bubbles, edge lift and white patches
- What to check before you buy a curved protector
- How SmartProtectors solves the fit problem in practice
- Three habits that stop most installs going wrong
- Ready to fit yours? Here’s where to start
- Sources
Which protector type actually fits a curved screen?
Tempered glass, TPU, hydrogel and EPU behave very differently once a screen stops being flat. Rigid glass is cut to a shape and bonded with an adhesive rim, so on a sharp curve it has to bridge a surface it can’t physically bend into. Flexible films don’t have that problem, because the material itself stretches into the curve.
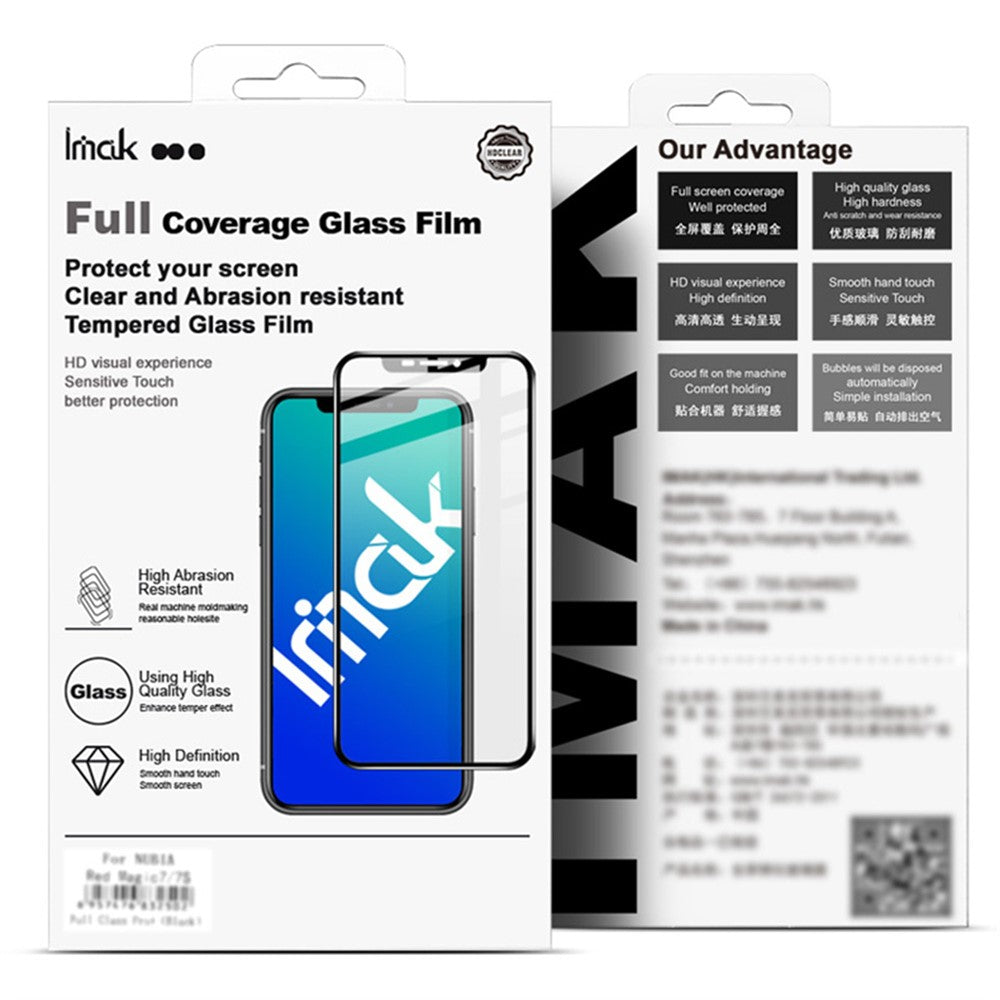
TPU and hydrogel are the softer, self-healing options. They’re inexpensive, they wrap right round the edge without a visible gap, and light scuffs tend to fade on their own within a day or two. The trade-off is a slightly softer touch feel and a shorter working life than glass.
EPU is a newer elastic polymer that splits the difference. It generally gives better impact resistance than hydrogel while still conforming to a curve, and it tends to self-heal faster too. If you want the best all-round curved-screen protection, EPU is usually the smarter buy over standard hydrogel.
Curved tempered glass wins on the glass-like feel under your thumb, the click when you tap, and general scratch resistance. It’s also the type most prone to lifting at the rim.
Adhesive matters as much as material:
- Pre-applied dry adhesive is the fastest to fit but offers the weakest bond at the very edge of a curve.
- Edge-glue designs add extra bonding strength right where lifting starts, a middle ground for moderate curves.
- Full-glue or UV liquid adhesive coats the entire panel, giving the most uniform bond on severe curves, though it demands a careful, patient install.
If drop protection is your priority, go EPU. If it’s scratch resistance and glass feel, go full-glue curved tempered glass. If you just want something cheap that forgives daily scuffs, hydrogel or TPU does the job.
Setting up your workspace before you start
Most botched installs trace back to the room, not the hands. Aim for a space at a moderate, comfortable room temperature with stable humidity and bright, indirect light. Direct sun or a cold bathroom both cause problems, one by curing adhesive too fast, the other by making it sluggish.
Work through cleaning in this order:
- Wipe the screen with an isopropyl alcohol swab to lift grease.
- Follow with a dry microfibre cloth, buffing in one direction.
- Press a dust-removal sticker onto the screen two or three times to lift what the cloth left behind.
- Finish with a manual air blower to clear any residual fibres, which professional installers rely on precisely because dust is the single biggest cause of trapped-air failures.
Lay out your tools before you touch the backing film: an alignment frame or jig, hinge tape if you’re going free-hand, the installation tool that came in the box, a felt-wrapped squeegee, spare dust stickers, and a UV lamp if your kit uses liquid adhesive.
Before peeling anything, drop the dry protector onto the screen with the backing still on and check it sits centred over the camera cutout and speaker grille. If it’s off by even a millimetre, adjust now, not after the adhesive is exposed.
Pro Tip: Do this test-fit twice, rotating the protector slightly each time you check it. A jig can still be seated wrong on an asymmetric case cutout, and you’ll only spot that with a second look.
How do you fit a curved screen protector step by step?
Four methods cover almost every curved phone on the market. Which one you use depends on your kit and how aggressive the curve is.
The hinge method works well when you’re going free-hand:
- Tape one edge of the protector to the screen using two small hinge points, lined up against the camera cutout or speaker grille.
- Peel the backing film away in one motion while lowering the protector from the taped edge.
- Squeegee outward from the centre, never from one side across, to push air toward the edges rather than trapping it in the middle.
The alignment frame method is faster and more forgiving:
- Drop the protector into the frame, adhesive side down.
- Lower your phone into the frame until it locks against the guides.
- Peel the tab and let the protector settle onto the screen, then squeegee.
Using a proper frame or jig cuts install time to under a minute and very nearly eliminates misalignment, which is why it’s the method to reach for first if your protector includes one.
Wet or liquid adhesive installs need more patience:
- Apply the specified amount of solution or spray, never more.
- Slide the protector into position while the surface is still wet.
- Squeegee from the centre out, working slowly to push liquid and air toward the edges.
- Leave it to cure for the time stated on the kit, usually somewhere in the 12 to 24 hour range.
Progressive peel and midpoint crease are for extreme curves, the kind found on some folding and edge phones. Instead of peeling from one side, you seed adhesive at the centre crease first, where the curve is tightest, then work outward in both directions. It’s an advanced technique because pulling the film too taut anywhere along that path stretches it, and a stretched film delaminates later even if it looks fine on day one.
A short list of stop signs worth memorising:
- Fresh dust visible under the film before you’ve even squeegeed it: stop, lift, reclean.
- The protector sitting off-centre by more than a millimetre once it touches the glass: stop, don’t try to slide it, peel and restart.
- Any wrinkle appearing near the crease during a midpoint install: stop and release tension before it sets.
Pro Tip: If you’re not confident with progressive peel, start with the alignment frame method even on a heavily curved phone. It’s slower to master the crease technique than it looks, and one failed attempt usually means buying a replacement film.
Fixing bubbles, edge lift and white patches
Not every flaw means the protector has failed. Learning to read what you’re looking at saves you from binning a perfectly good film.
- Small, mobile bubbles that shift when pressed are trapped air. Work them out towards the nearest edge with a felt squeegee.
- Tiny, fixed white specks under the film are dust. A pinprick with a fine needle followed by gentle pressure usually flattens these without a full reinstall.
- A cloudy, milky patch near the centre right after installation is usually still-curing adhesive, not a defect. It normally clears within the 12 to 24 hour cure window as the liquid finishes bonding.
- Edge lift that appears days later is different again. It’s often caused by tension from the install itself rather than weak glue, particularly on films stretched too hard during a progressive peel.
For edge lift specifically, press the rim down repeatedly over a few days, since flexible adhesives often need repeated contact to fully seat. A little warmth from your hand or a warm cloth can help the adhesive flow back into contact. Check your case isn’t pressing unevenly against one edge, which is a common hidden cause. If the lift keeps returning at the same spot despite pressing and a case check, the film is likely stretched there for good, and trimming that edge or fitting a fresh protector beats fighting it indefinitely. Our guide to fixing lifted edges walks through this in more depth.
What to check before you buy a curved protector
Fit problems often start at the checkout, not the install. Before you buy:
- Match the exact model number, not just the phone family. “Edge” and “Ultra” variants of the same phone frequently have different curve profiles and cutout positions.
- Check whether you run a case, and if so, whether the protector is described as case-friendly or full-coverage. A mismatch here is one of the most common reasons buyers report edge gaps.
- Favour listings for full-glue or model-matched curved designs, since they’re built specifically for the curve rather than trimmed from a generic sheet.
- Confirm an installation tool or alignment frame is included. It’s the single detail that most affects your odds of a clean fit.
| What to check | Why it matters |
|---|---|
| Exact model and variant | Curve profile and cutouts differ between similarly named phones |
| Case compatibility | Full-coverage films can gap under a tight-fitting case |
| Adhesive type | Full-glue and edge-glue hold the rim better than dry pre-applied film |
| Installation tool included | Jigs cut alignment error close to zero on a first attempt |
Our breakdown of protector types and buying checklist both go into compatibility in more detail if your model is unusual.
How SmartProtectors solves the fit problem in practice
Curved protectors are available that pair directly with the installation methods described, helping users choose the appropriate technique for each film.
- Some curved edge tempered glass screen protectors are model-matched to specific device curves, so cutout alignment and edge coverage are designed in.
- Multi-pack full coverage shockproof protectors may include their own installation tool, facilitating the frame method immediately out of the box.
- Full-glue protectors with dust-free installation tools offer full-screen adhesion while maintaining in-screen fingerprint unlock functionality, suitable for users who prefer wet-install-style bonds without applying liquid adhesive themselves.
Our own installation guide walks through each of these tools step by step, and this article’s advice on hinges, frames and curing times reflects the same practical approach.
Three habits that stop most installs going wrong
Most failed fits share the same root cause: someone skipped the test-fit, went free-hand instead of reaching for a frame or hinge, or judged the result before the adhesive had time to cure. Fix those three habits and the rest of the technique mostly takes care of itself.
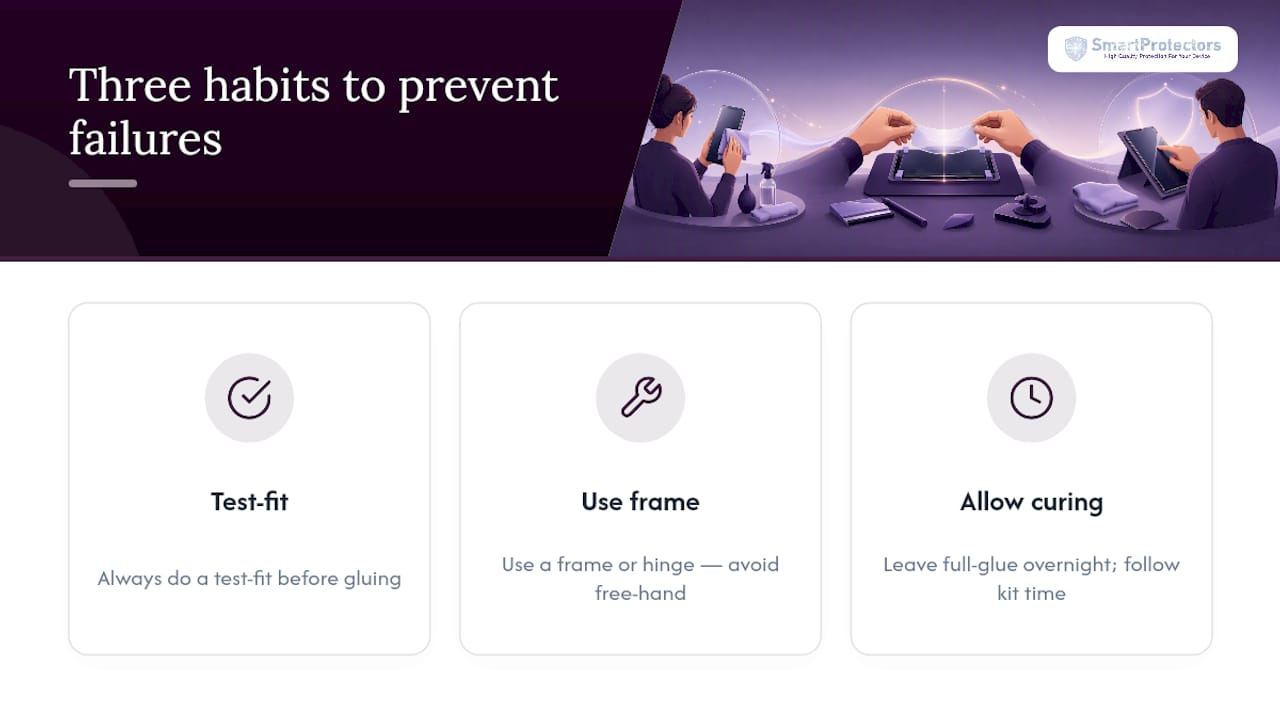
The single most common mistake we see is impatience with full-glue installs, someone presses hard on a milky patch an hour after fitting, decides it’s failed, and starts peeling. Left alone overnight, that same patch usually clears on its own. Give it the time the kit specifies before you touch it again.
If your exact phone or tablet isn’t in our catalogue, ask us to source it. We add models on request rather than leaving you stuck with a generic-fit compromise.
— Dian
Ready to fit yours? Here’s where to start
Some kits include a curve-matched protector and an alignment tool that makes the fit repeatable rather than a gamble. This approach differs from buying a generic sheet and hoping the edges settle: the film is shaped for the exact curve, plus a jig designed to position it correctly on the first attempt.
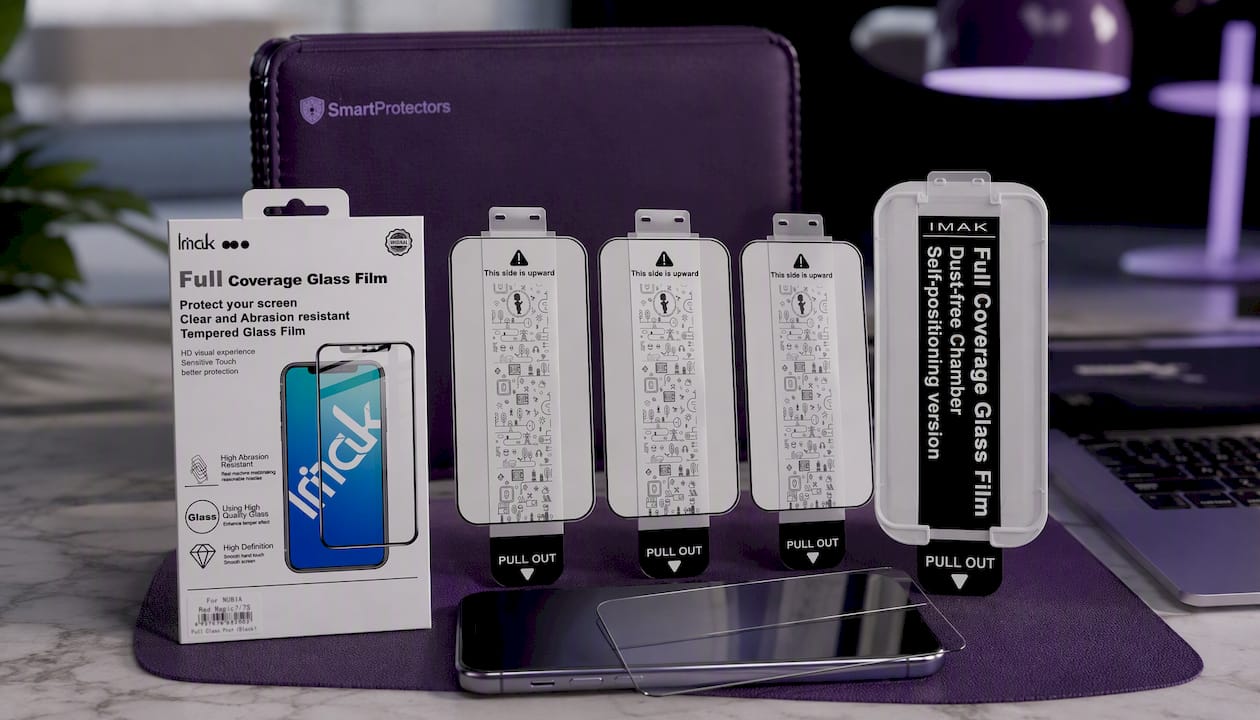
Start with the Curved Edge Tempered Glass Screen Protector for the Motorola Edge 70 Ultra 5G / X70 Air Pro 5G if you want a model-matched glass fit. If you’re on a Galaxy S25 Edge, S25+ or S24+ and want the frame included in the box, the 3-pack shockproof protector with installation tool covers you for spares too. For full-glue coverage that keeps fingerprint unlock working, the full-glue IMAK protector with dust-free tool is the stronger pick. Pairing any of these with a stable phone holder, such as the CYCLYK holder, keeps your hands free during the hinge or frame steps described earlier.
If your phone isn’t listed in the catalog, consider requesting the model. Getting the right protector for your exact device is important for curved-screen fit, rather than relying on a close-enough option.
Sources
- 10 proven methods for applying flexible screen protectors on curved displays
- Best screen protectors for curved screens (2025 guide)
- How to install a screen protector — the bubble‑free method
- How to apply tempered glass on curved screen like a pro every time – INAIRSPACE