

Wet-install is the right method for any flexible TPU or hydrogel film protector, and it will get you closer to a flawless, bubble-free finish than dry application ever can. It is not for tempered glass, where moisture stops the adhesive bonding properly. Expect to reposition the film once or twice during the wet stage, then leave it several hours before it fully cures.
TL;DR:
- Wet installation is ideal for flexible TPU or hydrogel protectors, especially on curved screens, but should be avoided with tempered glass protectors.
- Proper room conditions, like a steamy bathroom, significantly reduce dust and bubbles, making the application smoother and more bubble-free.
- Using minimal liquid and careful alignment allows for repositioning, while pressing from the center outward helps expel air and excess moisture.
- Full adhesion can take several hours to 24 hours, and avoiding pressure on the film during curing prevents lifts or bubbles.
- Full-glue tempered glass protectors with installation frames provide a simpler, less error-prone alternative to wet installation for common devices.
Table of Contents
- How do you apply a wet install screen protector step by step?
- What tools and liquids do you need for a wet install?
- How do you fix bubbles and dust during wet install?
- Wet install vs dry install: which one should you use?
- How long does a wet-installed protector take to cure?
- Why you can trust this guide
- What the conventional advice on wet install gets wrong
- Finding the right protector for your phone
- Sources
- FAQ
How do you apply a wet install screen protector step by step?
Wet-install works because the liquid layer buys you time. It lubricates the adhesive just long enough to slide the film into place, then evaporates and lets the bond set. Rush this and you lock in dust or a crooked edge for good.
Start with the room, not the phone. A steamy bathroom, run for a few minutes after a hot shower, settles airborne dust and makes a bubble-free application far more likely than a dry, dusty desk. Give the steam five to ten minutes to clear before you open the kit, since visible mist on the screen will fight the adhesive.
- Clean the screen properly. Wipe with an alcohol pad in single-direction strokes, wait for the alcohol wipe to fully evaporate before continuing, then follow with a dry microfibre pass. This stepwise routine lifts oils that a quick wipe leaves behind. Tilt the phone under a side light to spot smears you missed, and lift any remaining specks with a dust sticker before you go further.
- Mix and apply the liquid. Distilled water with one small drop of mild dish soap works for most TPU and hydrogel films, or use the manufacturer’s own solution if the kit includes one. Spray lightly. Too much liquid pools at the edges and slows curing; a fine, even mist is all the film needs.
- Align before you commit. Use the hinge stickers or guide tabs if the protector has them, or the alignment frame if one is supplied. Lower the film from one edge, sliding it gently across the wet surface to nudge it square with the camera cutout and edges before you press down.
- Squeegee from the centre outward. Work in overlapping strokes, pushing liquid and trapped air toward the edges rather than trapping it in the middle. Wipe excess liquid off the squeegee between passes, then run a final pass around the border to seal the edges down.
- Pause and inspect. Before the film fully bonds, check that ports, the camera ring and any curved edges sit flush. This is your last easy chance to lift a corner and adjust.
Pro Tip: Keep a spare microfibre cloth dry and separate from the one you use for cleaning. A damp cloth reused for the final wipe just redeposits the moisture and lint you’re trying to remove.
What tools and liquids do you need for a wet install?
A rushed kit is the most common reason wet installs go wrong, so lay everything out before you start.
- Microfibre cloth (at least two, kept separate for wet and dry use)
- Alcohol wipes for the initial degrease
- Dust removal stickers for lifting stray specks
- A small spray bottle for the liquid mix
- A squeegee or a stiff, soft-edged card
- A lint-free towel for wiping the squeegee
- A blower bulb or a short burst of canned air
For the liquid itself, distilled water with a single drop of mild dish soap is the standard home mix, or you can use a manufacturer’s wet-install solution if one came with the protector. Avoid strong rubbing-alcohol mixes on flexible films. High alcohol content can attack the adhesive layer on TPU and hydrogel protectors, leaving a hazy residue that never fully clears. If your kit includes an alignment frame or a snap-on applicator, use it. It costs you nothing and removes most of the guesswork around edge alignment.
How do you fix bubbles and dust during wet install?
Most problems at this stage are fixable without starting over. Work through them in order rather than attacking the whole screen at once.
- Small bubbles near the centre or edges: squeegee outward toward the nearest edge and give it a minute. Tiny bubbles often diffuse through the film as the liquid finishes evaporating, so don’t chase every last speck immediately.
- A stubborn dust speck under the film: lift the nearest edge just enough to slide a thin strip of tape or a dust sticker underneath, lift the speck out, then re-lay and re-squeegee that section. Pressing down hard over a speck only embeds it deeper.
- A misaligned edge or a stuck corner: peel back slowly while the film is still wet, re-wet the screen lightly if it has started to tack, re-clean any exposed area, and reposition from scratch.
- Cloudiness that doesn’t clear after a day: this usually points to a defective protector or contaminated adhesive rather than leftover moisture, and is worth flagging to whoever supplied it.
Pro Tip: If a bubble sits directly over the fingerprint sensor, deal with it before anything else. A trapped air pocket there affects unlock reliability long before it becomes a visual annoyance.
Wet install vs dry install: which one should you use?
The material decides the method, not personal preference.
- TPU or hydrogel film, or a curved display: use wet install. The liquid layer gives you room to reposition and helps expel air before the adhesive sets, which matters most on a curved edge where a dry film has no forgiveness at all.
- Tempered glass: use dry install. Water gets trapped against a rigid pane and stops the adhesive from bonding correctly, which shows up later as cloudy patches or a lifting edge.
- Full-coverage protectors over a fingerprint sensor: either method can work, but check the manufacturer’s own instructions, since sensor cutouts are unforgiving of even minor misalignment.
Full-glue tempered glass kits that ship with a plastic installation frame, like the screen protector installation guide covers, sidestep this decision entirely by handling alignment for you.
How long does a wet-installed protector take to cure?
Initial tack sets in within minutes, and you can usually handle the phone gently within up to an hour. Full adhesion is a longer game.
- Expect several hours for the adhesive to reach full strength, and up to 24 hours for some flexible films to cure completely.
- Cold rooms, high humidity, or an overly generous liquid spray during application all slow the cure down further.
- Avoid a tight-fitting case for the first few hours, since pressure on a soft edge before it has bonded can push a fold or bubble back in.
- Wipe the screen with a dry cloth only during this window. Skip cleaning sprays until the film has fully set.
Small bubbles trapped under a curing TPU film often shrink on their own as the last of the liquid finishes evaporating, so give it the full window before deciding the install has failed.
Why you can trust this guide
This guide was written by Dian, who covers hands-on installation and maintenance techniques for phone and tablet accessories, including the bubble-free installation guide and advice on when a liquid protector suits your device and when it doesn’t. SmartProtectors stocks protectors, cases and lens covers for a wide range of phones, tablets, watches and earbuds, and runs a sourcing service for models that aren’t already listed. If your device isn’t in the catalogue, that request goes straight to the sourcing team rather than into a dead end.
What the conventional advice on wet install gets wrong
Most guides treat wet install as a fallback for people who fear bubbles, as if it were the cautious option. It isn’t caution, it’s technique. The liquid layer is doing real mechanical work, buying you time to correct alignment that a dry film would never forgive. That’s why curved-edge protectors and hydrogel films lean on it almost universally rather than occasionally.
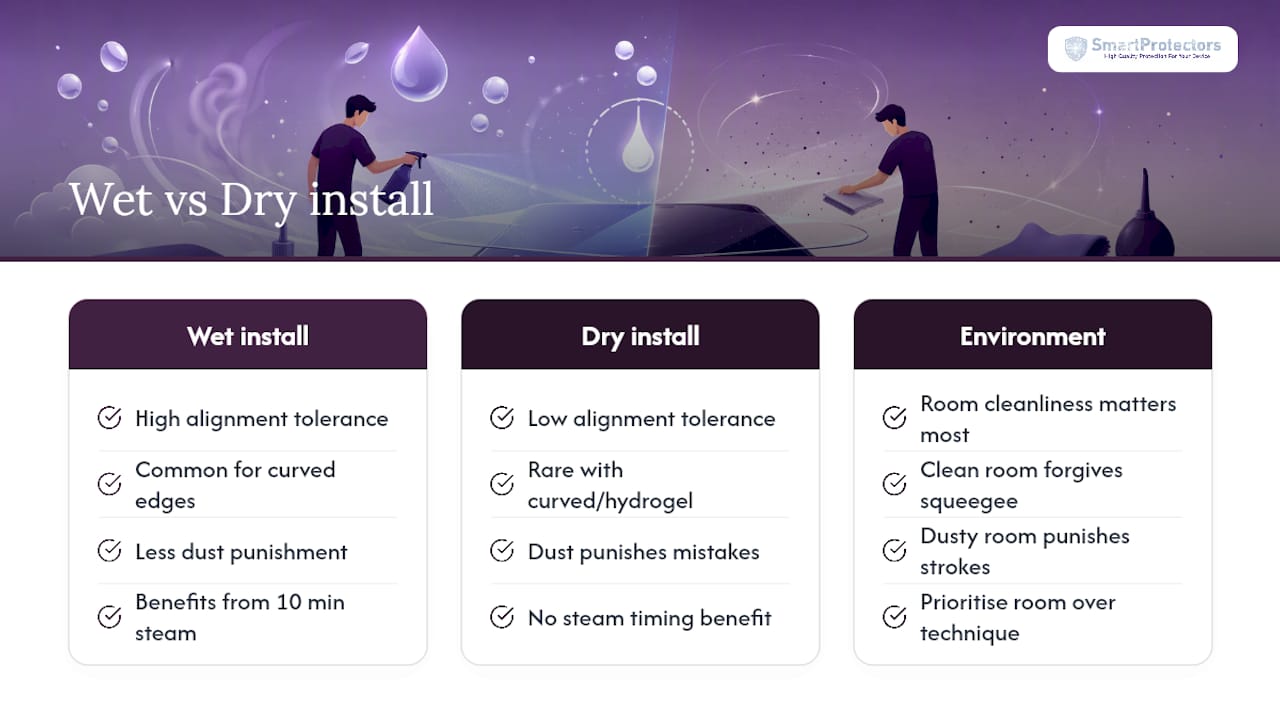
Where the standard advice falls short is timing. Plenty of tutorials rush straight from spray to squeegee without mentioning that a steamy bathroom, given ten minutes to clear, does more for dust control than any amount of careful wiping afterwards. The humidity trick isn’t a nice extra, it’s the difference between fighting dust for twenty minutes and barely seeing any.
If you take one thing from this, prioritise the room before the technique. A clean environment forgives a slightly imperfect squeegee stroke. A dusty one punishes even a perfect one.
— Dian
Finding the right protector for your phone
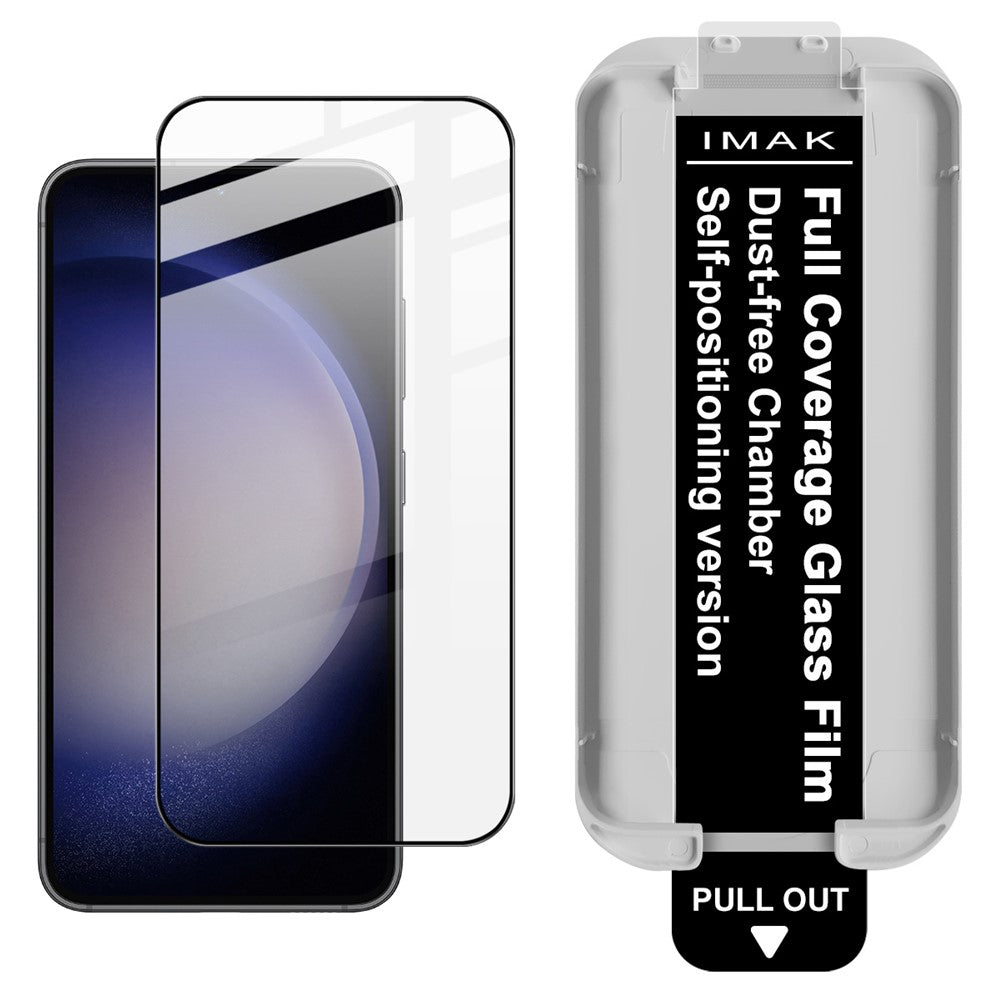
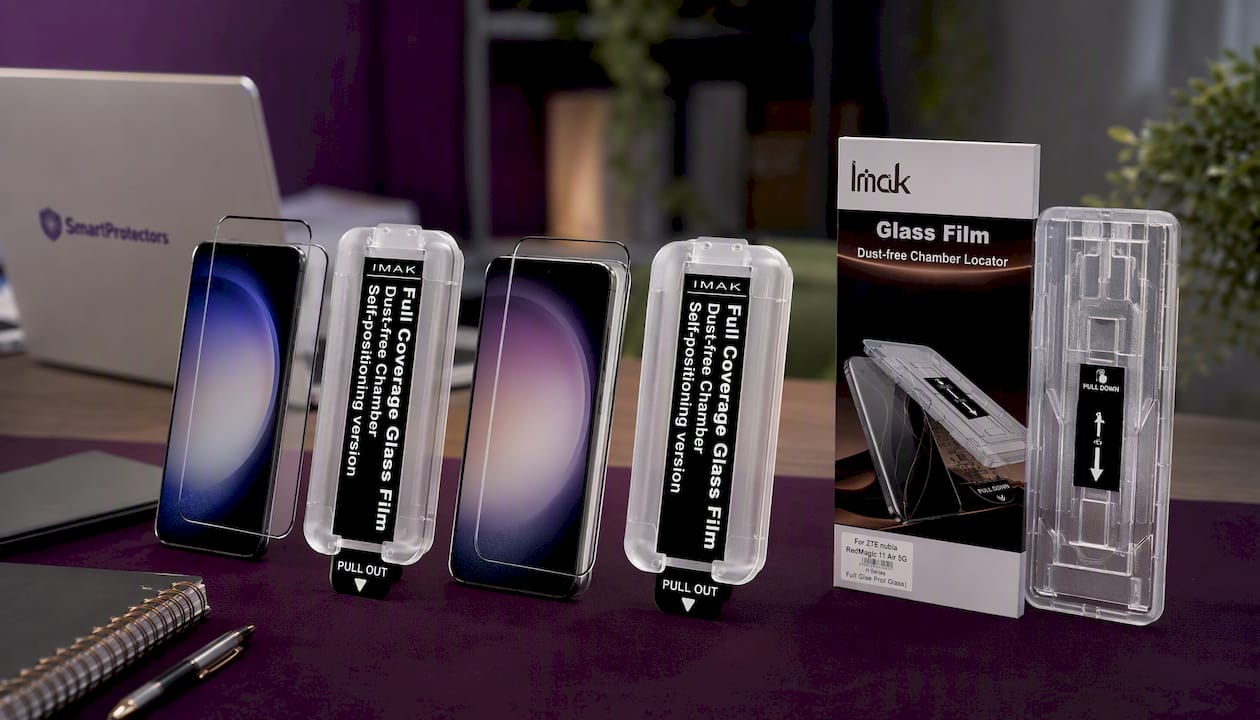
If you’d rather skip the liquid, squeegee and steam altogether, a full-glue tempered glass kit with its own installation tool gets you a near-identical result with far less room for error. The IMAK full-glue tempered glass protector with installation tool for Galaxy S23+ and S22+ 5G uses a dust-free alignment tray that does the positioning job a hinge sticker does in the wet method, and it keeps fingerprint unlock working properly.
[IMAG:cta_image]
The same approach covers newer handsets too. The IMAK tempered glass protector with installation tool for Galaxy S25 and S24 gives full-coverage shockproof glass without needing a steamy bathroom or a spray bottle at all. For less common devices, the IMAK H Series protector with installation frame built for the ZTE nubia RedMagic 11 Air 5G shows the same principle: a guided frame that removes the alignment guesswork, which matters most on a gaming phone with tight bezels.
Choose wet install when your protector is TPU or hydrogel film and you want the flexibility to fine-tune alignment by hand. Choose one of these full-glue glass kits when you’d rather let a frame do that work for you, or if your device model isn’t a common one and you need help tracking it down through SmartProtectors’ sourcing request service.
Sources
- Screen-protectors
- The Wet vs. Dry Install: Which Method is Easier for a First-Timer? - HackMD
- How to Apply a Screen Protector (wikiHow)
- How to Install Screen Protector without Bubbles? (Step-by-Step) - HONOR AU
FAQ
Do liquid screen protectors actually work?
Liquid screen protectors and wet-install film protectors are different products. Wet-install film uses liquid only as an application aid, and it works well when the steps above are followed, particularly the alignment and squeegee stages.
How much does it cost to get a screen protector installed?
Professional or in-store fitting typically costs the price of the protector plus a fitting fee, while DIY installation costs nothing beyond the kit itself.
What is the best way to apply a screen protector without leaving bubbles?
Clean the screen thoroughly, apply the liquid sparingly, align using hinge stickers or a frame, then squeegee from the centre outward in overlapping strokes to push air and excess liquid to the edges.
Will water under a screen protector dry?
Yes. Small amounts of trapped liquid evaporate naturally as the film cures, and minor bubbles often shrink or disappear entirely within the first 24 hours as the adhesive finishes setting.